Over the years, I’ve experimented quite a bit with backpack mounts, using them with both the DJI Osmo Pocket 3 and the DJI Osmo Action 5 Pro. On paper, the idea always sounded appealing. Hands-free recording, a natural point of view, and the ability to capture moments without constantly holding a camera.
In practice, though, backpack mounts came with some pretty serious compromises that stopped me from using them regularly.
With the Osmo Pocket 3, the biggest issue was physical. Mounted on a shoulder strap, the camera sticks out awkwardly and feels unbalanced. Even more problematic was the footage itself. The vertical bobbing from walking was extremely noticeable, and without the ability to absorb movement with your arm or wrist, the footage quickly became distracting.

The Osmo Action 5 Pro solved some of the physical awkwardness, but introduced a different problem. When mounted on a backpack strap, the camera naturally pointed outward instead of straight ahead. Switching to a backpack mount with a ball joint helped align the angle better, and realistically this was about as good as backpack-mounted action camera footage got for me. Even then, the camera sat off to the side, framing was passive rather than intentional, and most clips ended up being difficult to use in an actual edit.
At that point, I more or less gave up on backpack mounts altogether.
A Different Take on Backpack Mounting
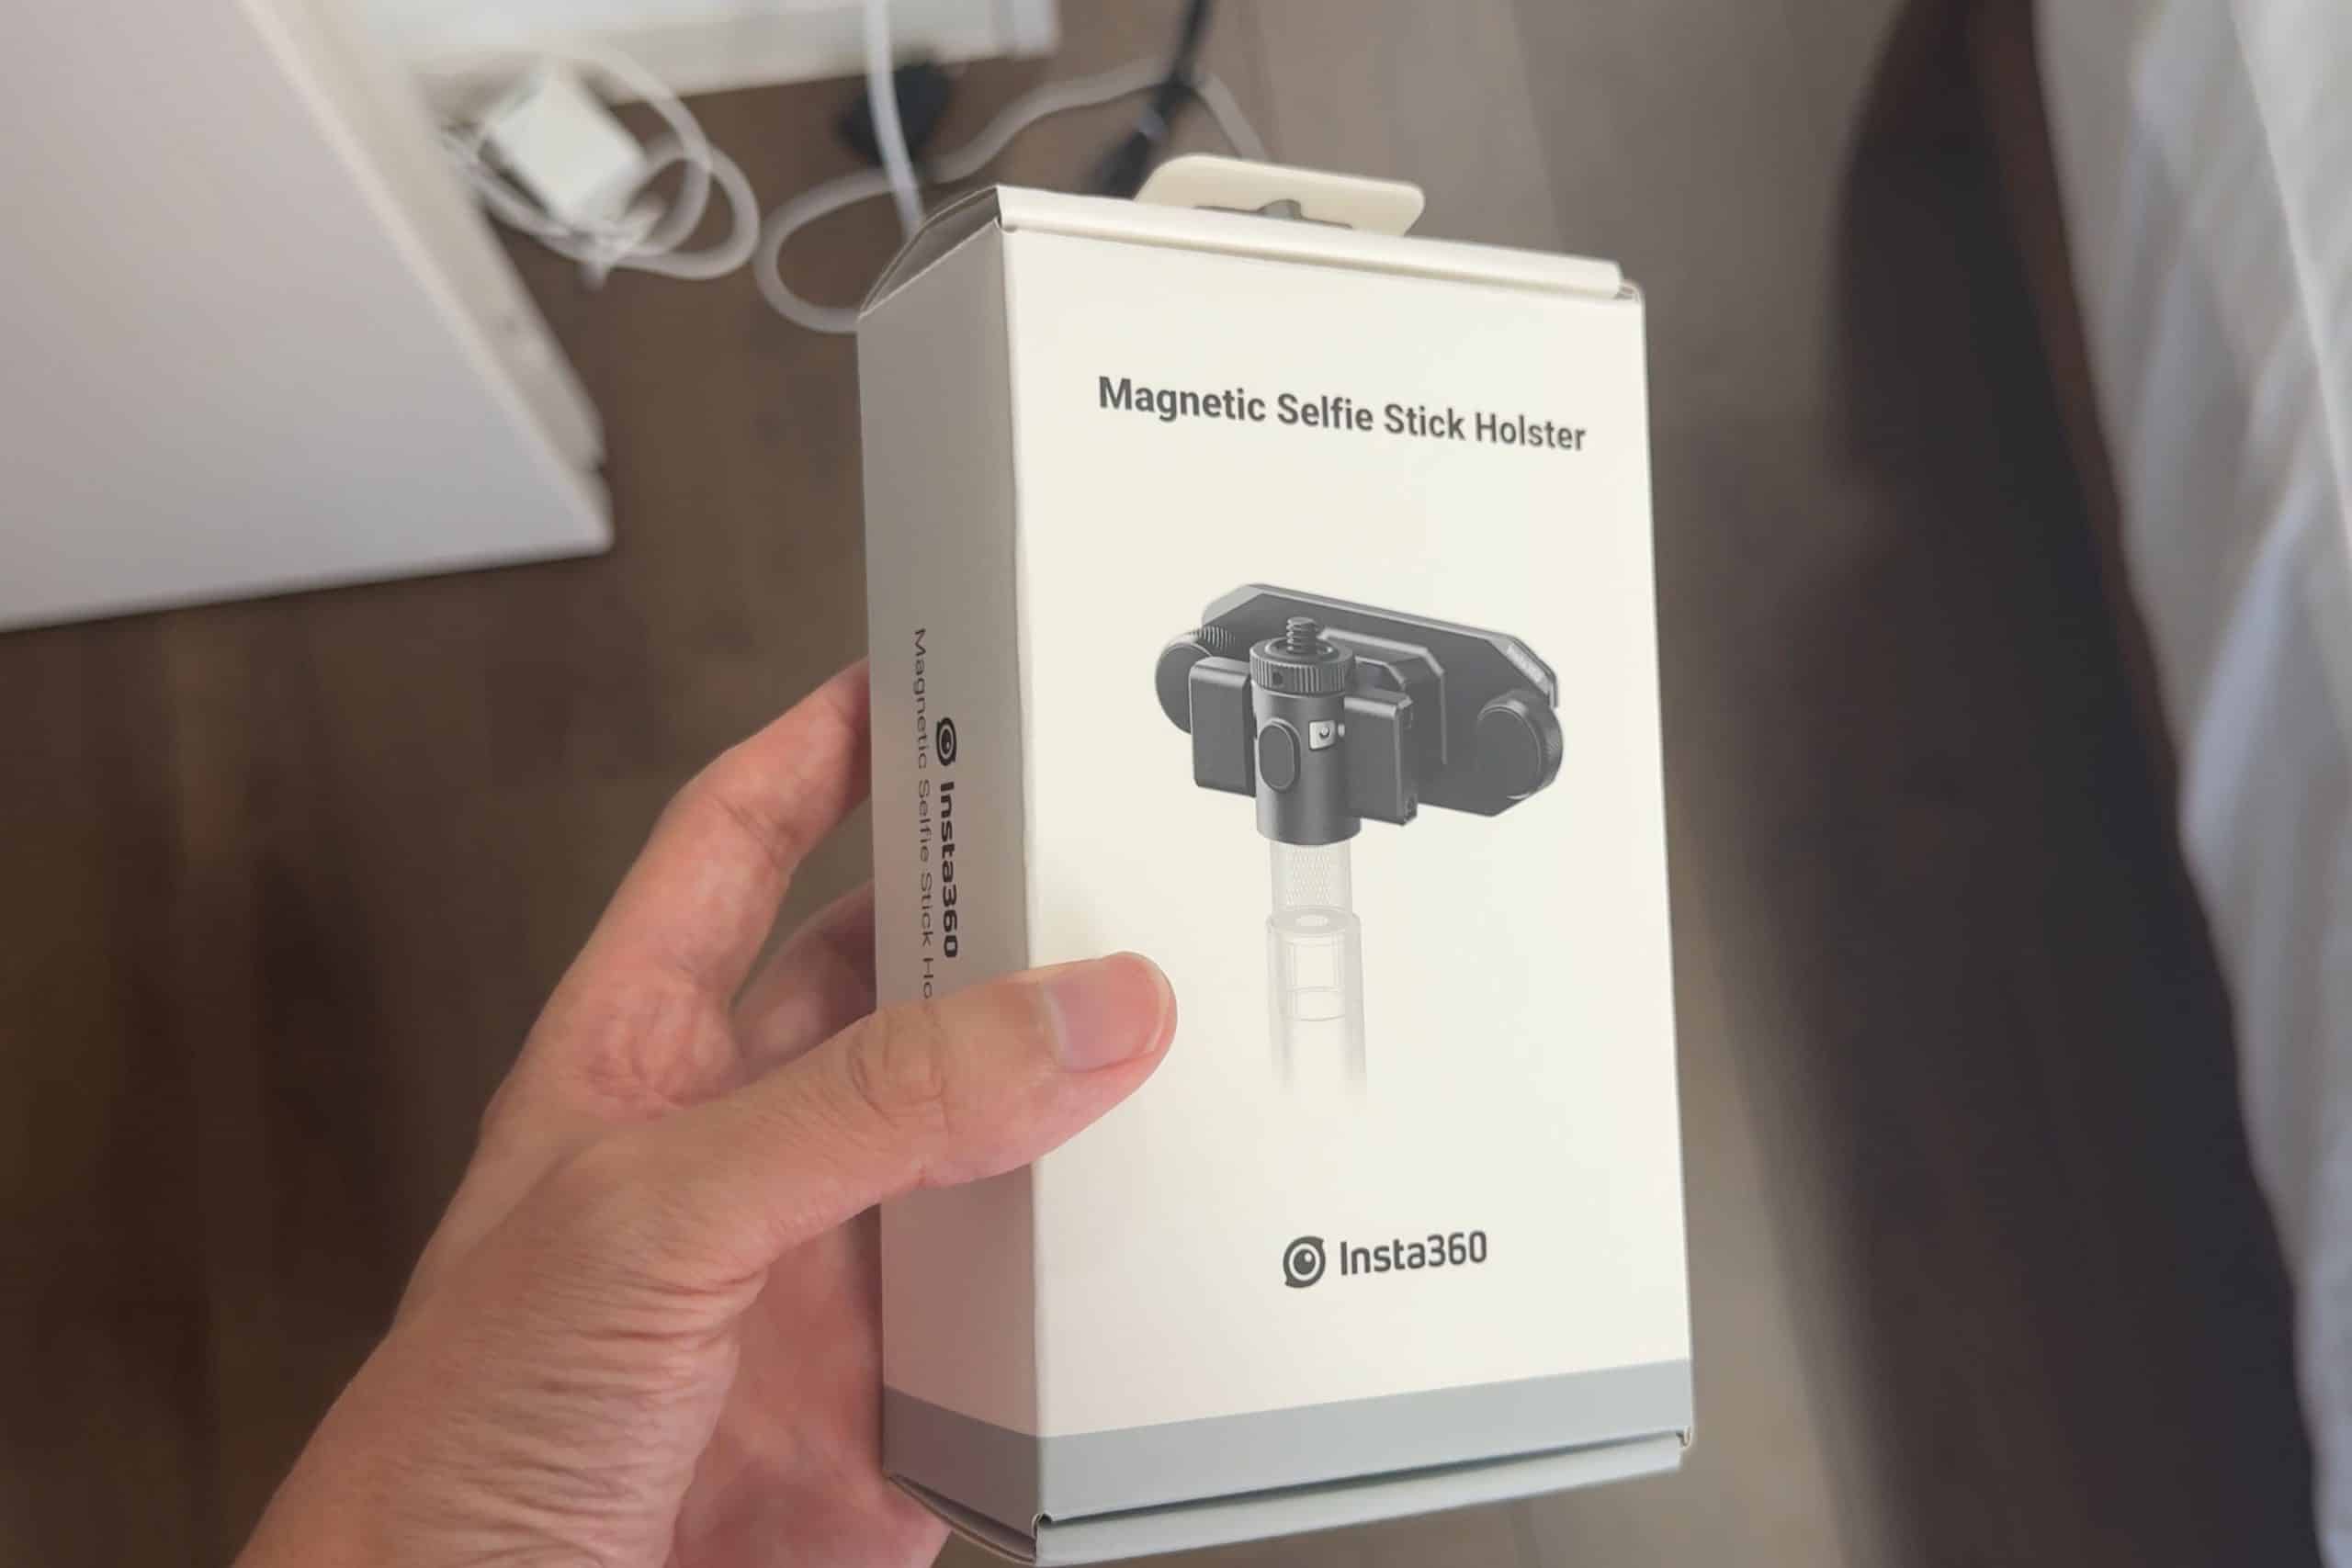
Things changed when I started researching accessories for the Insta360 X5. During that process, I came across the Insta360 magnetic backpack holster that immediately stood out, not because it was marketed as a filming accessory, but because it wasn’t.
Insta360 positions this accessory primarily as a quick holster for moments when you are not recording. That alone caught my attention. Constantly swinging my backpack around or taking it off just to stash the X5 had become genuinely annoying, so the idea of a fast, one-handed holster already made sense.
What really made it interesting, though, was the possibility that it could also double as a hands-free POV mount. I had not seen a solution that genuinely aimed to do both. And while backpack-mounted footage had been mostly unusable for me in the past, this setup felt different. With a 360 camera, framing is no longer locked in at the moment of recording. The ability to reframe and follow the action in post meant there was a real chance the footage could actually be useful this time.
That’s what pushed me to give backpack mounting another shot.
How the Backpack Holster Fits and Works
The setup itself is fairly straightforward. All you really need is a backpack and a selfie stick. While this accessory feels most naturally paired with Insta360’s X-series cameras, which are typically used with selfie sticks anyway, it can also work with other cameras. I tested it using the Osmo Action 5 Pro as well, and functionally it works just fine.
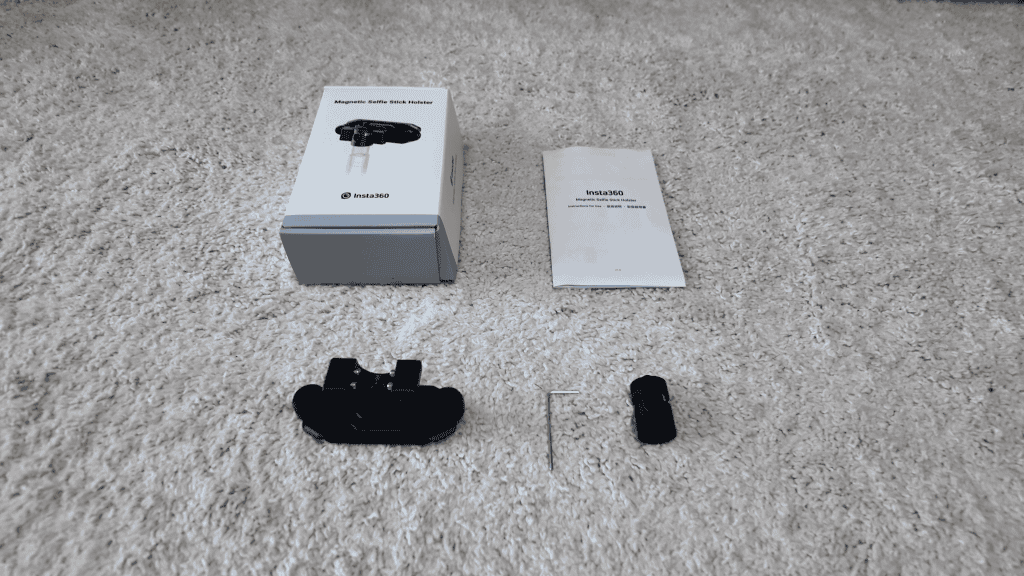
The holster consists of two main components. One part clamps onto your backpack strap. The other is a magnetic quick-release piece that screws into the end of your selfie stick. Once attached, the magnetic section clicks securely into the clamp.
One thing that’s worth paying close attention to is strap thickness. On one of my backpacks with relatively thin straps, the clamp went on easily. On my North Face Recon, it was a real struggle. I managed to get it on, but only just. If the strap had been any thicker or wider, it simply would not have fit.

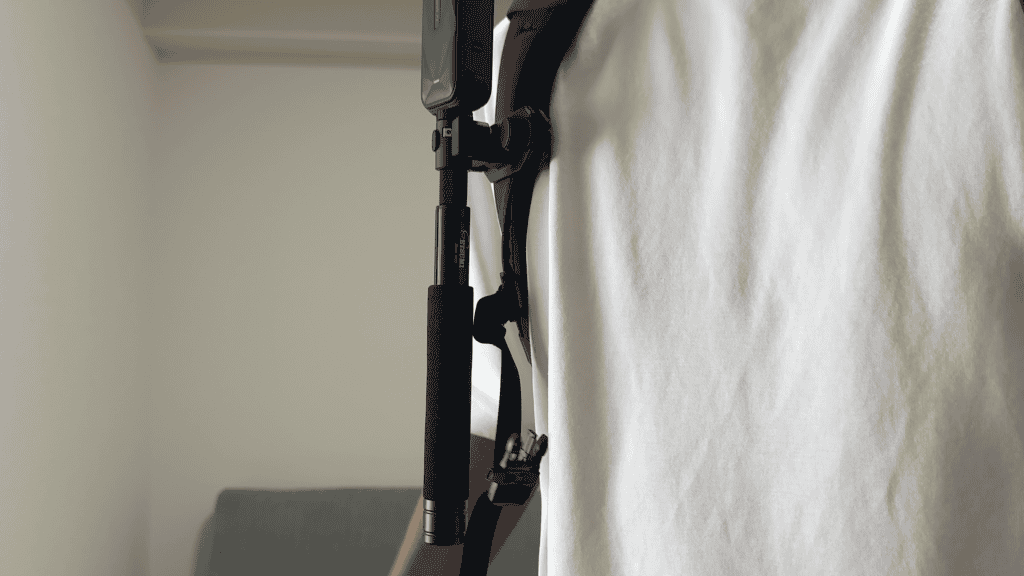
After the clamp is secured, you screw the quick-release part onto your selfie stick. At this stage, the camera angle may not be perfect, but Insta360 includes a small L-shaped wrench that lets you fine-tune the alignment. Once adjusted, the camera sits neatly against your chest, locked in place.
When you want the camera back in your hand, you simply twist the selfie stick and it pops free. The motion is quick and intuitive, and after a short while it becomes second nature.
Real-World Footage and Practical Use
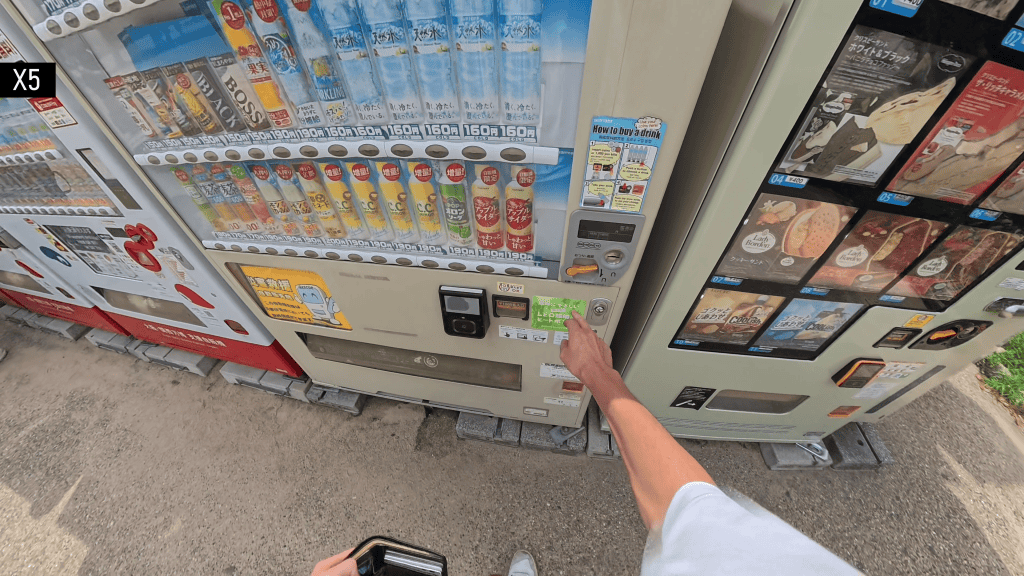
I captured a variety of footage using the Insta360 X5 mounted on this backpack holster. When walking forward, the result looks like fairly standard POV walking footage, similar to what you might get from an action camera mounted on your chest or shoulder.
The difference shows up in post. Because the footage is captured in 360 degrees, you are not limited to a fixed forward-facing view. Even while walking straight ahead, you can pan around, adjust framing, or even look back over your shoulder during editing. That flexibility alone makes a huge difference in how usable the clips are.
The mount also works well when you want to ensure the framing stays focused on the action. A good example is biking. When I record bike footage with the Osmo Action 5 Pro, the camera angle often ends up slightly off, especially once I start moving. With the X5, that problem largely disappears. You can keep the ride immersive and correct the framing afterward, which results in much more watchable footage.
Overall, biking footage turned out better than I expected. The ability to reframe in post really carries this setup.
There are still limitations, of course. Walking footage suffers from the usual bobbing that comes with body-mounted cameras, since there’s no arm movement to smooth things out. And if you zoom out too aggressively in post, you will sometimes see your head creeping into the corner of the frame. These are not deal-breakers, but they are things to be aware of.

Final Thoughts
As a filming tool, this backpack holster makes the most sense for 360 camera users. Holding a camera in your hand will always give you more control, smoother movement, and more deliberate framing. But as a way to capture extra footage while keeping your hands free, this setup works surprisingly well.
I can also see it being particularly useful for A-to-B hyperlapses in travel videos, where the footage doesn’t need to be perfectly polished but still benefits from a stable, consistent point of view.
Even if you never plan to record while the camera is on your backpack, the holster still earns its place. Being able to quickly switch between holding the camera and stashing it without stopping or removing your backpack is genuinely convenient, and that is what the accessory was originally designed for.
One final note is that the clamp itself is not especially bulky. I’ve found myself leaving it on my backpack full time and forgetting it’s even there. Just keep strap compatibility in mind. Getting it onto my North Face Recon was a challenge, and if you rely on backpacks with thicker straps, this particular setup may not be an option.
For the right use case, though, this is the first backpack-mounted solution I’ve used that feels genuinely practical rather than just convenient in theory.