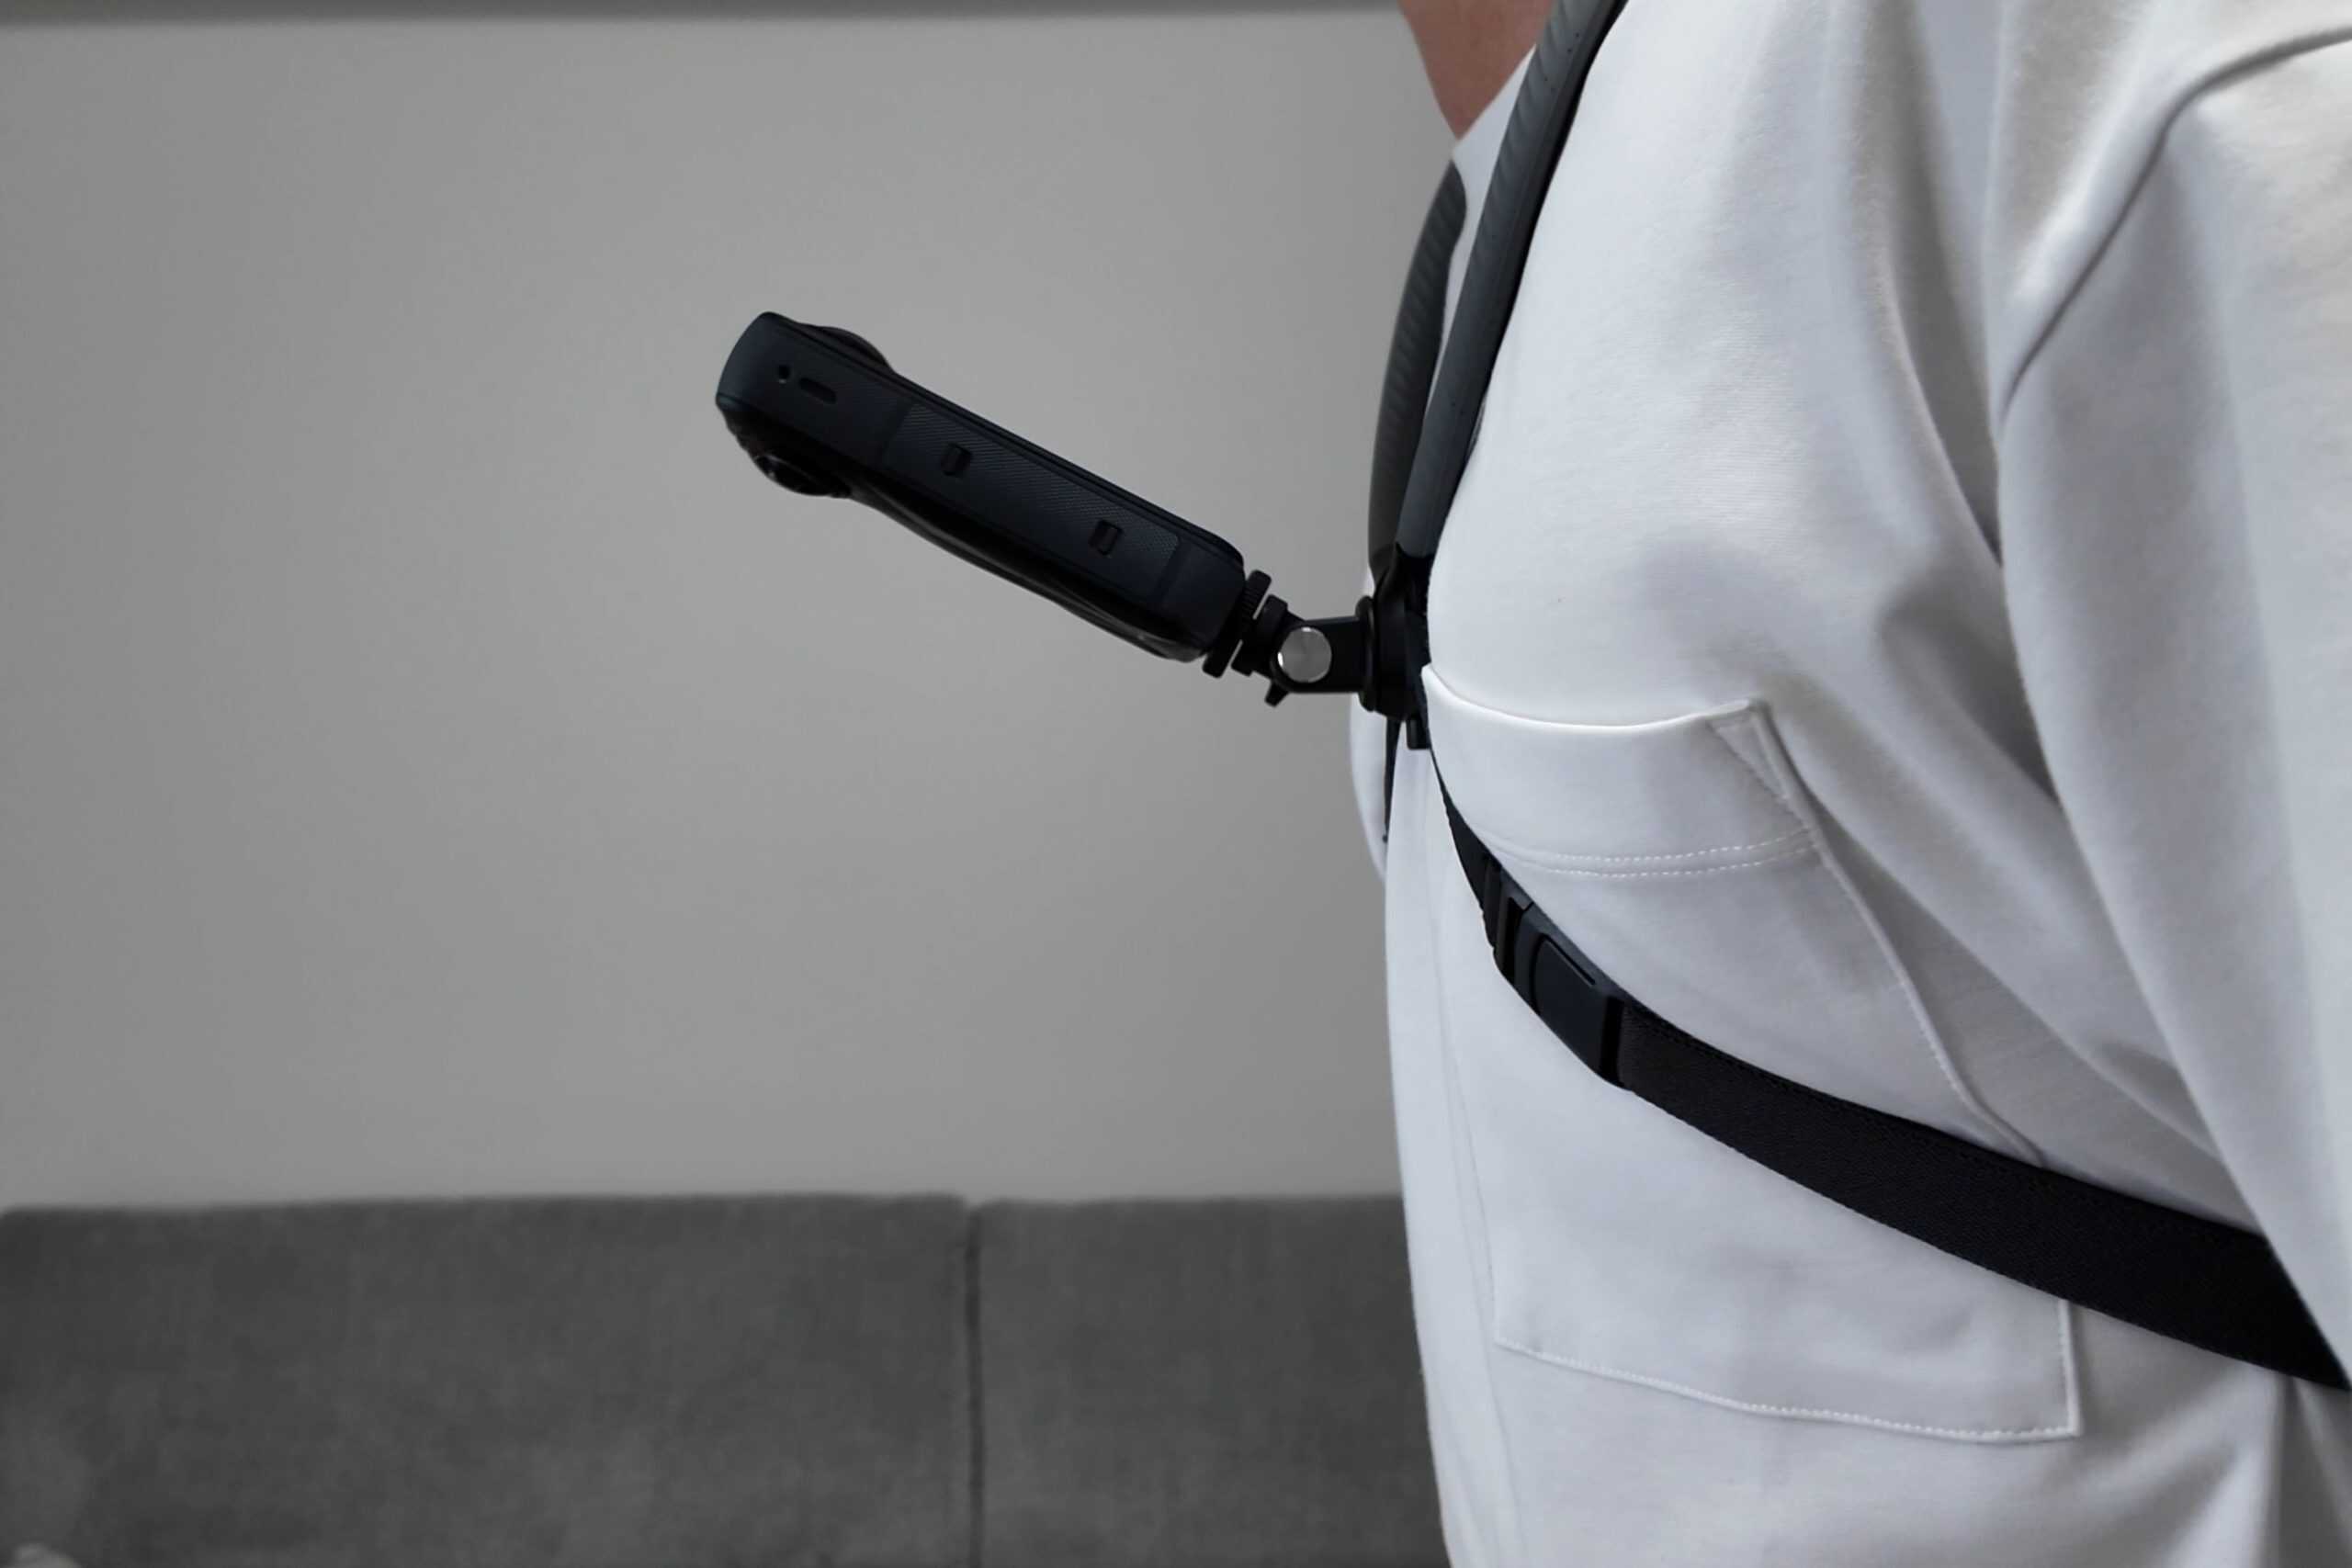
Ever since I picked it up, the PGYTech neck mount has become my most frequently used solution for recording POV footage. I originally bought it for biking shots with the Osmo Pocket 3 and Osmo Action 5 Pro, but over time I found myself reaching for it in more and more situations.
Beyond cycling, it works surprisingly well for slower, more controlled shots like product unboxings, setup demonstrations, or any scenario where a natural first-person angle feels more appropriate than a tripod or handheld camera.
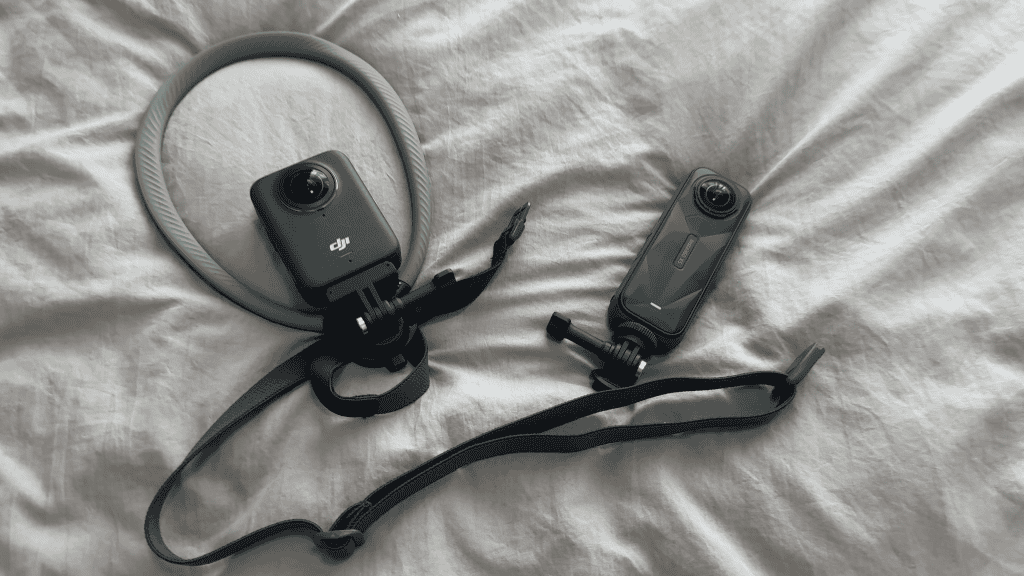
More recently, I wanted to see how well this neck mount would pair with 360 cameras, specifically the Insta360 X5 and DJI Osmo 360. At first, the results were honestly pretty rough. But after a few days of testing, adjusting angles, and rethinking how I mounted the camera, it turned out to be an excellent POV solution that can feel even more immersive than a traditional action camera setup.
The Overexposure Problem With Neck-Mounted 360 Cameras
The biggest issue I ran into when I first started filming with a neck-mounted 360 camera was severe overexposure.
My initial setup was straightforward. I mounted the camera the same way I would an action cam, with the front lens facing forward. The main difference was that I inverted the camera. Because 360 cameras are taller, flipping it upside down kept my chin out of the frame when I leaned forward on the bike. It also lowered the camera slightly, which helped capture more of the handlebars.

In practice, though, the footage was unusable. Highlights were completely blown out, and trying to reframe left or right just pulled my shirt into the shot. The Insta360 X5 occasionally handled exposure a bit better than the Osmo 360, possibly due to different exposure weighting, but neither camera was reliable in this configuration.
A quick test at home made the problem obvious. If you cover one lens on either camera with your hand, the entire image immediately brightens. That is because exposure is synchronized across both lenses to keep stitching consistent.
When worn on a neck mount, the rear lens often ends up partially or fully blocked by your shirt. Since the camera sees one dark lens and one bright lens, it boosts exposure to compensate, which completely blows out the footage from the front lens.
Mounted this way, shooting full 360 video simply does not work.
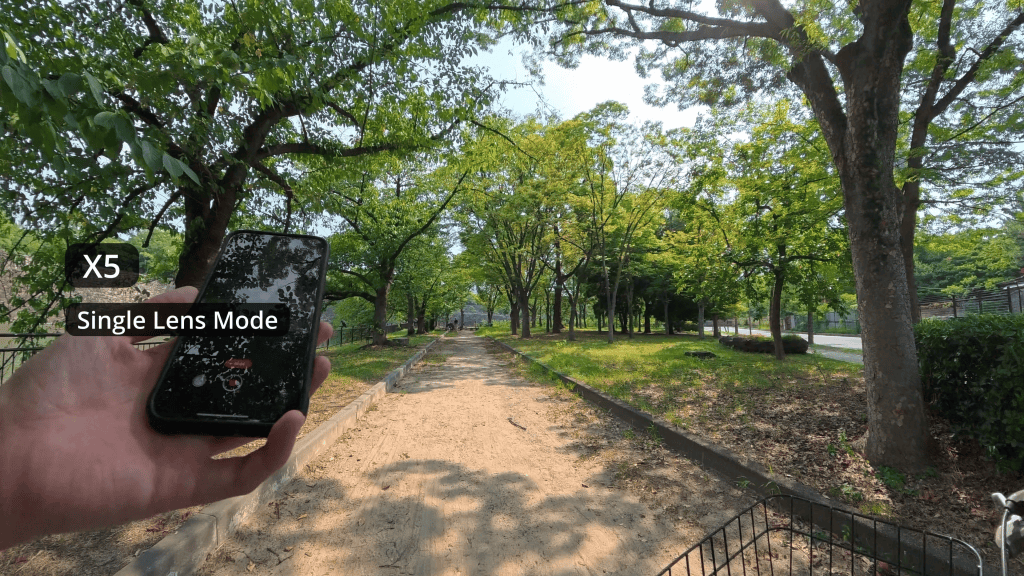
Using Single-Lens Mode as a Workaround
The most straightforward solution to this problem is switching to single-lens mode. In this mode, the camera meters exposure only from the active lens, ignoring whatever is happening behind it.
The difference is immediate. Highlights are under control, dynamic range improves, and the footage becomes usable again. On the Insta360 X5 in particular, single-lens mode also gives you noticeably better dynamic range compared to full 360 recording at 8K.
The trade-off is flexibility. You are effectively using your 360 camera like a normal action camera. There is no reframing in post, and you need to be more deliberate about how you aim the lens. Both cameras do allow you to adjust the field of view, which helps, but framing still matters.
That said, this approach has real advantages. Image quality is excellent, file sizes are smaller, and you can use the footage directly without running it through Insta360 Studio or DJI Studio.
One thing to keep in mind is lens safety. Even if the rear lens is not pressed firmly against your shirt, it can still make contact depending on your posture and mounting position. A rear lens protector is worth considering, especially if you wear rough or abrasive fabrics.
Interestingly, once you add a rear lens protector and press the camera flat against your chest, the setup becomes very similar to Insta360’s official POV chest mount. That mount is designed specifically for single-lens use, likely for exactly the same exposure reasons.
Shooting Full 360 Video Without Blown Highlights
If you want to take full advantage of a 360 camera and keep the ability to reframe in post, there is a better solution.
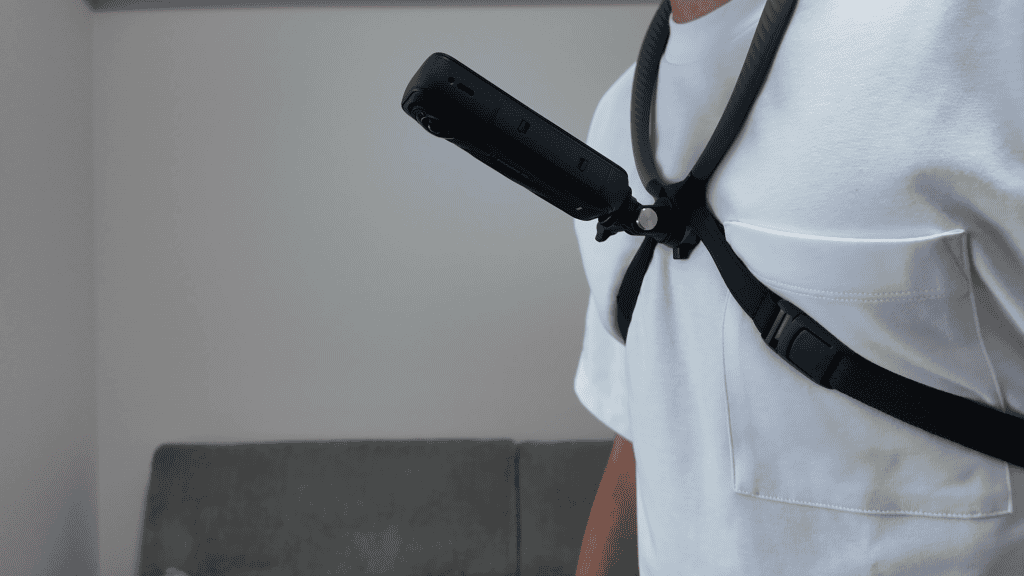
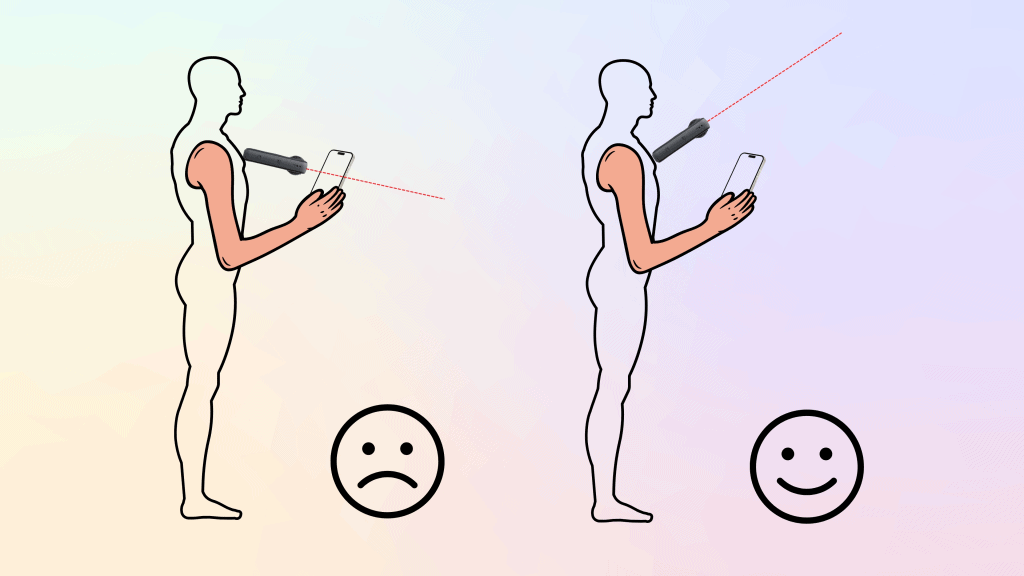
The key is simple. You need to keep enough space between the rear lens and your body so that neither lens is obstructed.
Instead of pointing the camera toward your chest, angle it outward, away from your body. This keeps both lenses exposed to similar lighting conditions, allowing the camera to balance exposure properly.
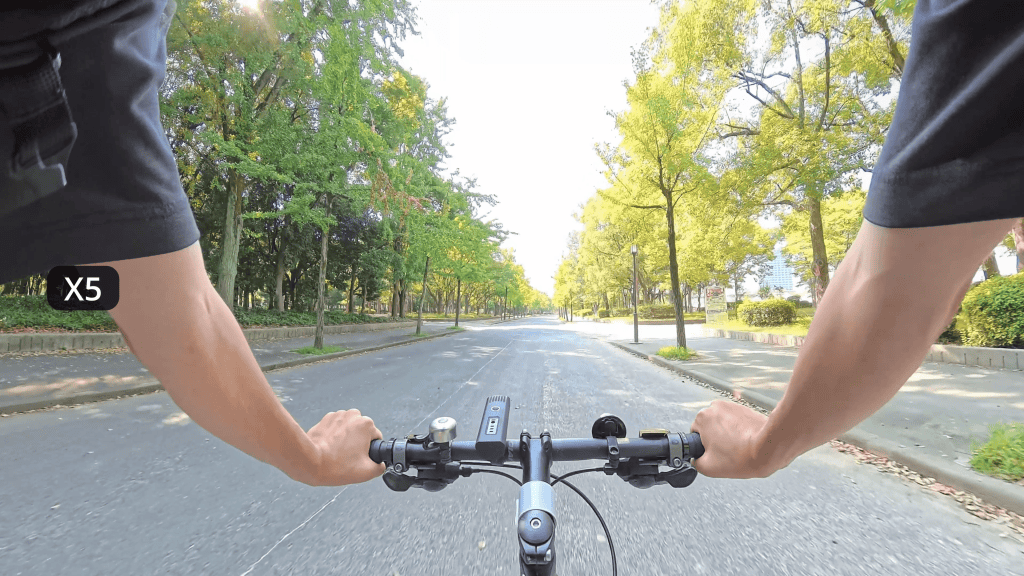
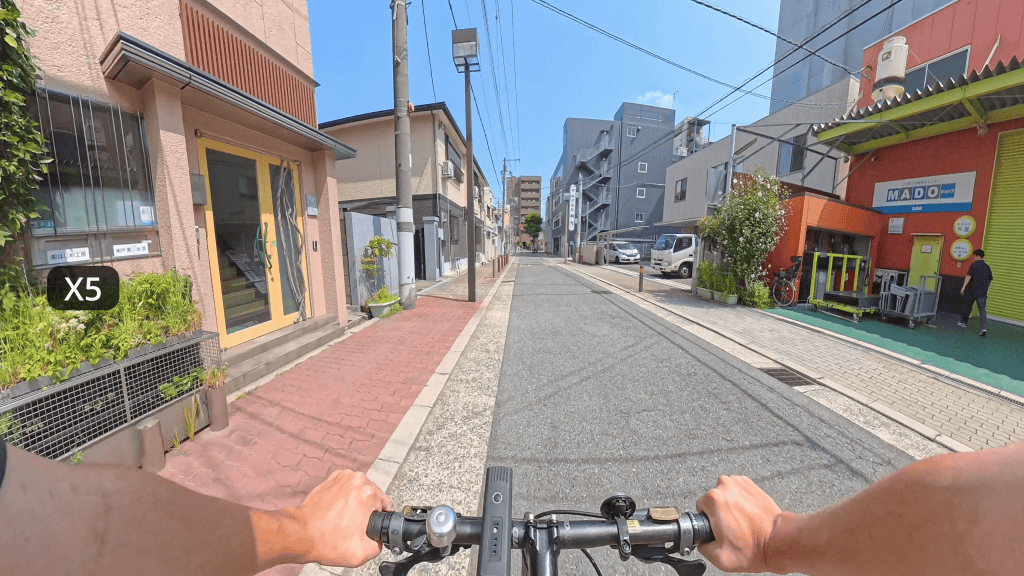
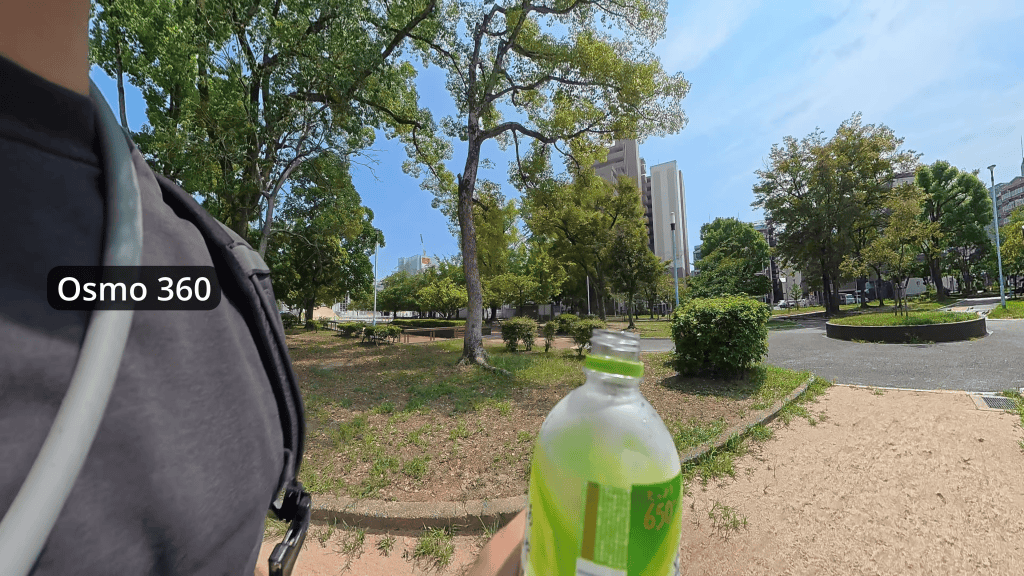
With this setup, overexposure disappears. I was able to record clean, properly exposed footage while biking, walking, and moving through everyday environments. Reframing left and right also became usable again, without my shirt constantly intruding into the frame.
Managing Stitch Lines With a Neck Mount
When mounting a 360 camera on your chest or neck, stitch lines are the other major consideration.
If the camera is perfectly horizontal, the stitch line often runs straight across the horizon. This can be distracting, especially if faces or important objects fall near that seam.
A simple fix is to tilt the camera slightly upward or downward so the stitch line moves out of the main area of interest.
I often film things below me, like using my phone or interacting with objects close to my body. In those cases, tilting the camera slightly upward keeps those objects away from the stitch line.
For close, face-to-face interactions, tilting the camera downward tends to work better, keeping the seam away from people’s faces.
For biking footage, stitch lines are rarely an issue at all. Most subjects are far enough away that parallax is minimal, and stitching artifacts effectively disappear. In my outdoor cycling footage, I could not even find the stitch line afterward.
Final Thoughts on Neck Mounts and 360 Cameras
A neck mount can be an excellent POV solution for 360 cameras. It works well as a replacement for a traditional action camera when used in single-lens mode, and it becomes especially powerful when angled outward to capture full 360 video for reframing in post.
That said, for high-impact or aggressive activities, the thinner strap design may not provide enough security. In those situations, a proper chest mount is still the safer option, and the same exposure and stitching principles apply.
The main takeaway is simple. When filming in 360 mode, never block one lens more than the other. As long as both lenses have clear exposure to the environment, you will avoid overexposed footage and get the most out of your camera.