Have you ever tried shooting 24 frames per second video on your DJI Osmo Pocket 3 and been disappointed with the results?
Shooting at 24p is often a deliberate decision, stemming from advice about getting that traditional ‘cinematic’ look. But if you simply set the frame rate to 24fps and leave it at that, you will have likely noticed that the footage appears choppy and lacks the smooth cinematic feel you were hoping for!
The Problem with Fast Shutter Speeds
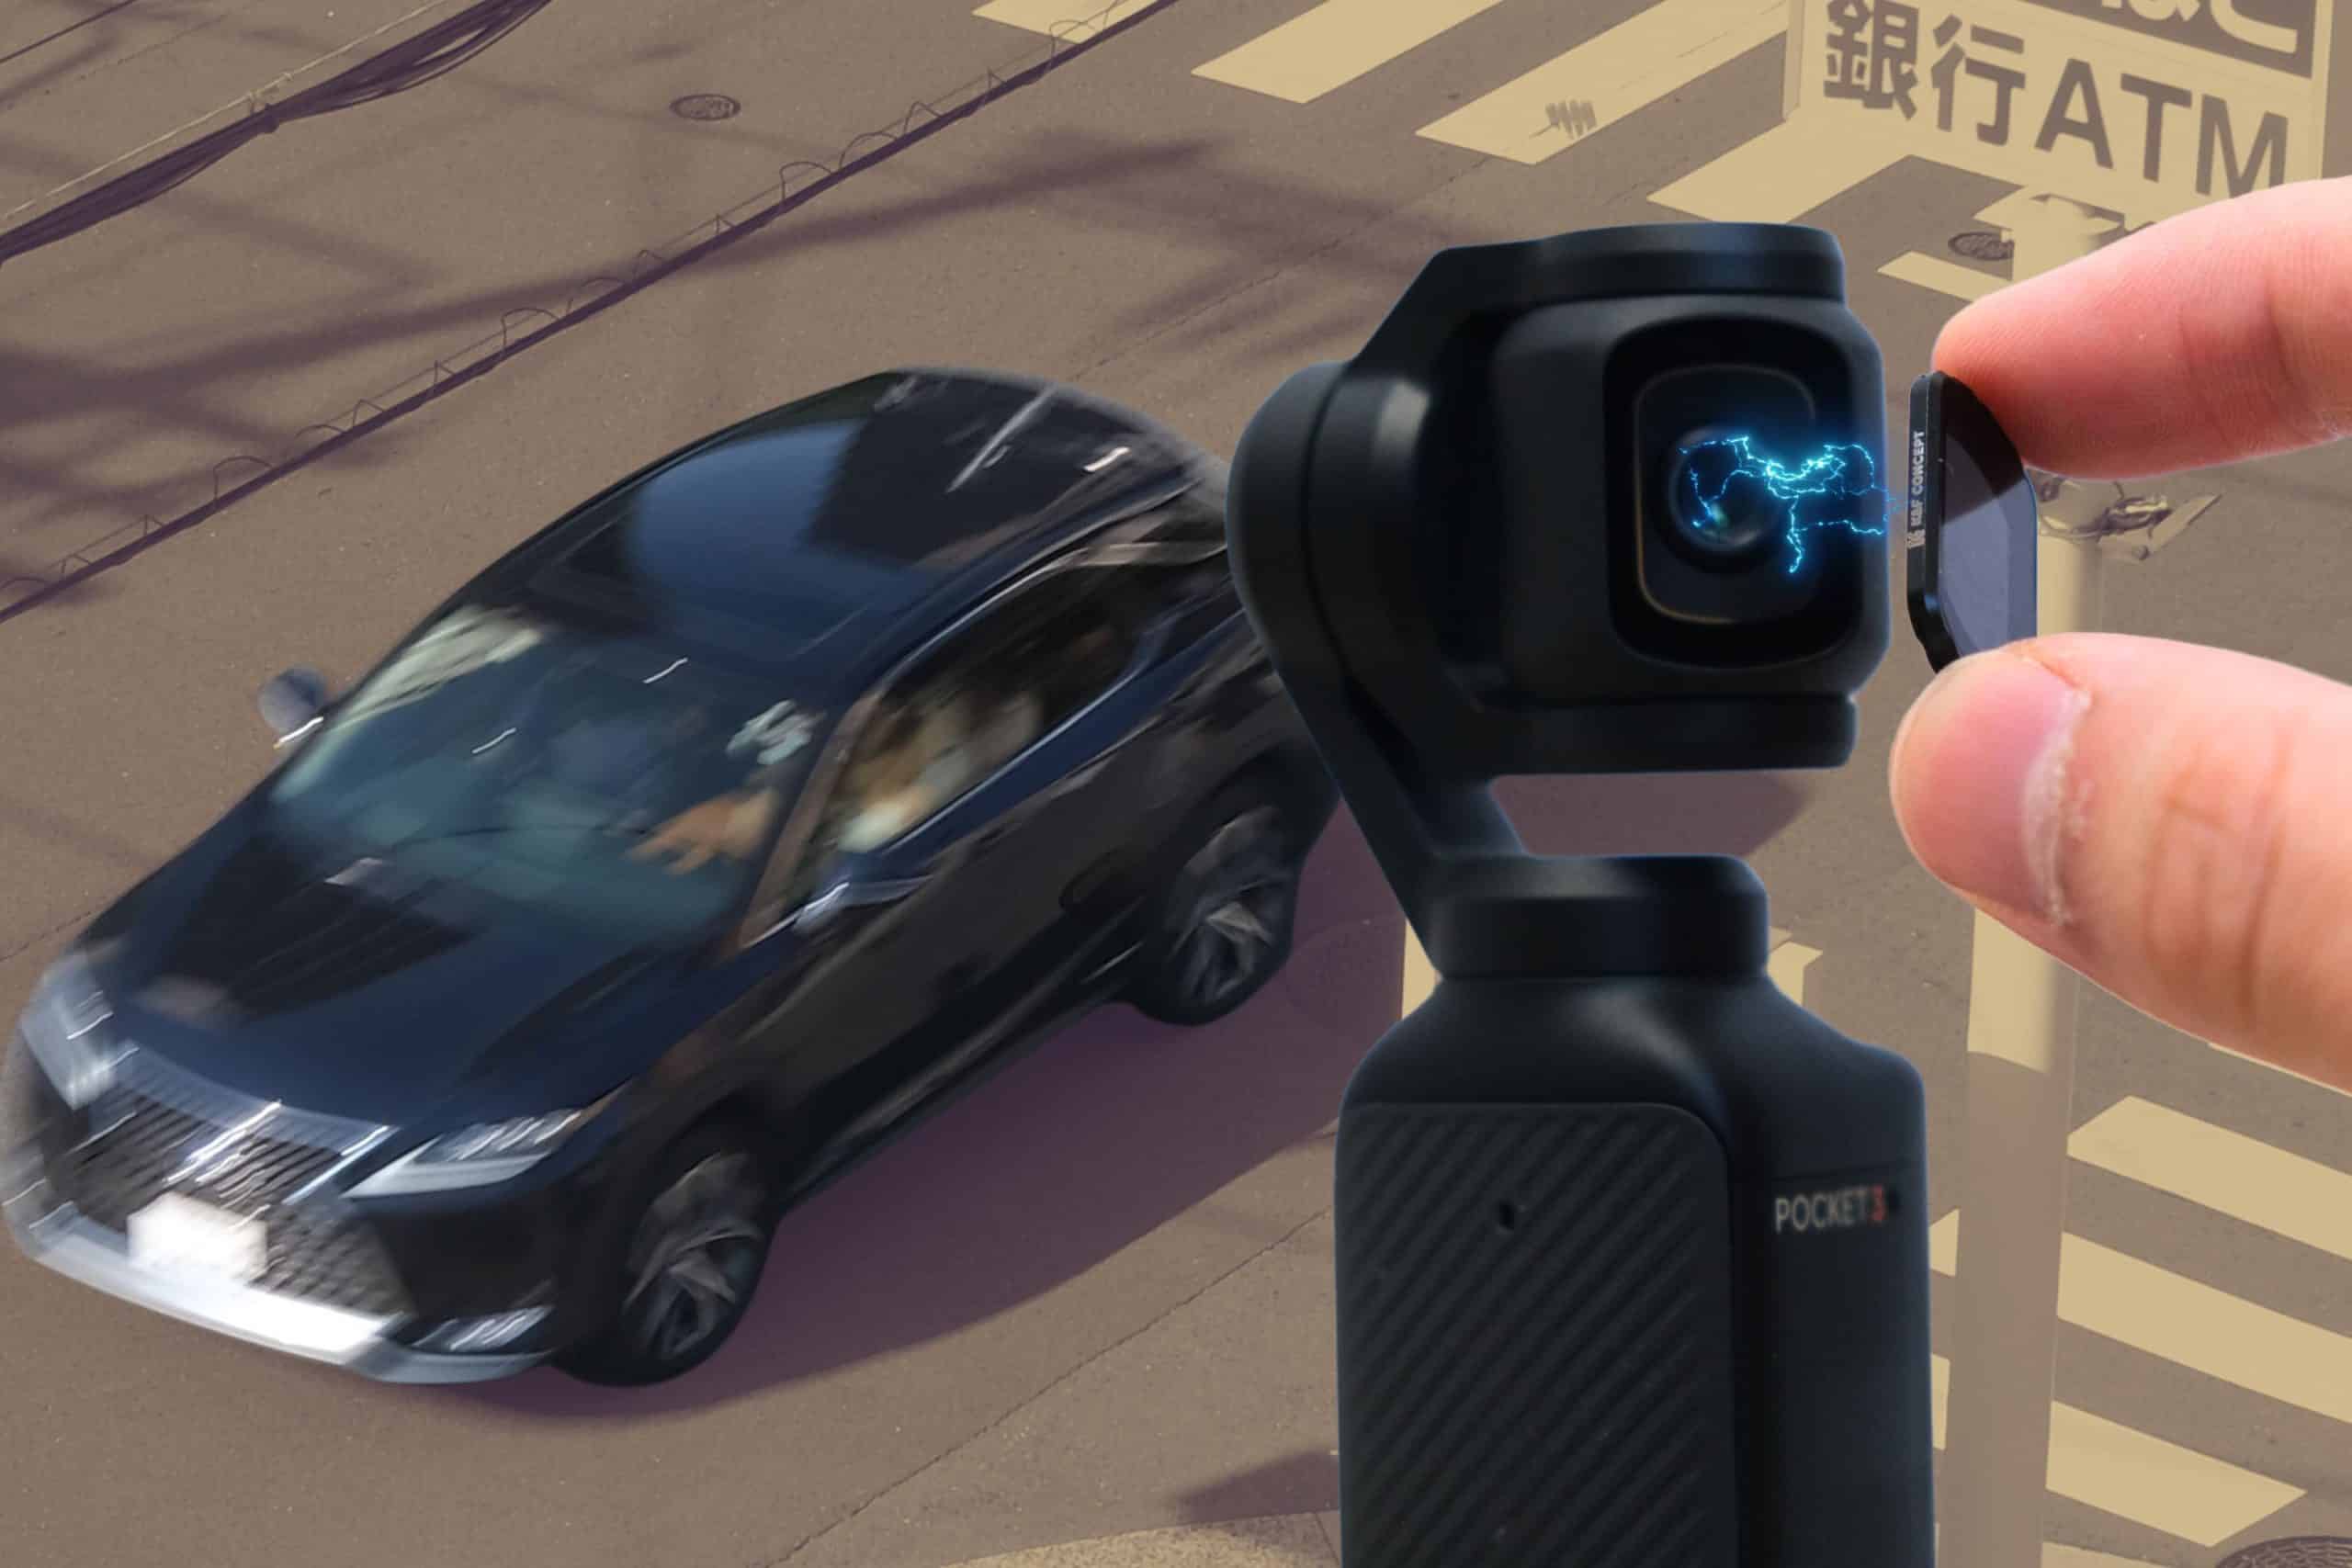
The issue is that in auto mode, the Pocket 3 will normally pick a fast shutter speed which makes each frame look very sharp, without any motion blur whatsoever. Basically, each frame looks as if everything is frozen in motion:
While higher frame rates like 30 or 60 fps mitigate choppiness due to the rapid succession of frames, 24fps can appear quite jarring to the eye.
The 180-Degree Shutter Rule
To understand how to fix this, we need to consider the 180-degree shutter rule. I won’t go into the details of this rule here, but it’s essentially a well-known guideline in videography that’s used to create a natural looking amount of motion blur in scenes.
For 24fps video, this rule suggests using a shutter speed close to 1/48th of a second. This setting introduces a natural amount of motion blur, akin to what we see in professional cinema.
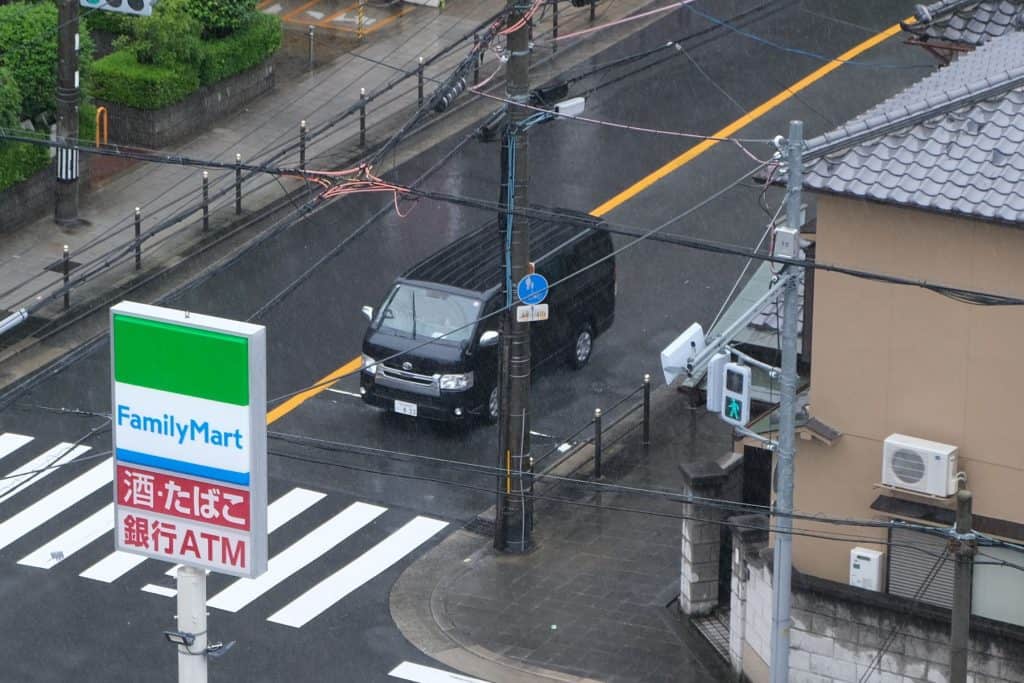
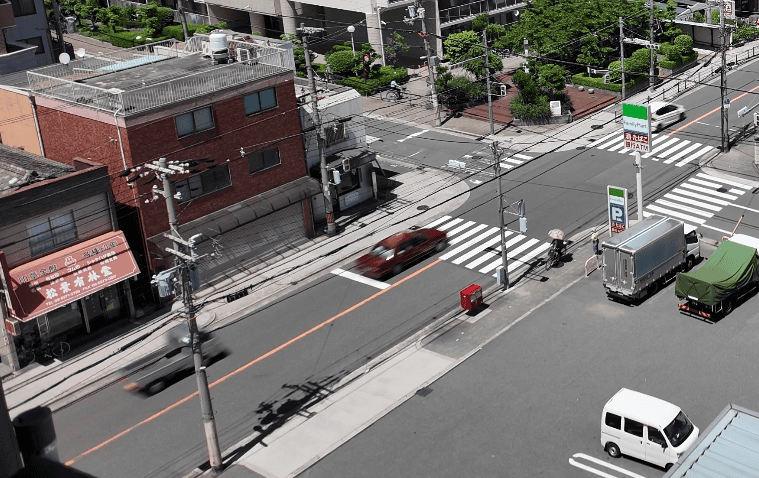
Here’s another photo of a moving car, except this time it was taken with a shutter speed of 1/50th of a second, which is commonly used instead of the more exact 1/48th of a second depending on the camera model:

Notice how there’s a nice amount of motion blur. Now imagine we’re stitching together 24 of these frames in a second. Compared to the case with sharp individual frames, the resulting footage blends nicely and is much smoother and pleasant to the eye.
The Exposure Challenge
However, there’s a catch. When using a slower shutter speed, especially in bright conditions, your video will very likely become overexposed. That’s because your camera has a much longer time to absorb light for each frame.
Since the Osmo Pocket 3 has a fixed f/2.0 aperture, and we are trying to fix the shutter speed at 1/50, we can’t adjust any settings on the camera to reduce the exposure.
The solution? ND filters.
ND (neutral density) filters are like sunglasses for your camera, reducing the amount of light entering the lens. There are many ND filter options for the Osmo Pocket 3 – I opted for a set from K&F, which are affordable, come with the same ND ratings as DJI’s official filters, and include a polarizing filter. These filters attach magnetically, are slim enough to let the gimbal close, and can even be stacked with the polarizing filter, though this prevents the gimbal from closing.
A cloudy, rainy day – ND16
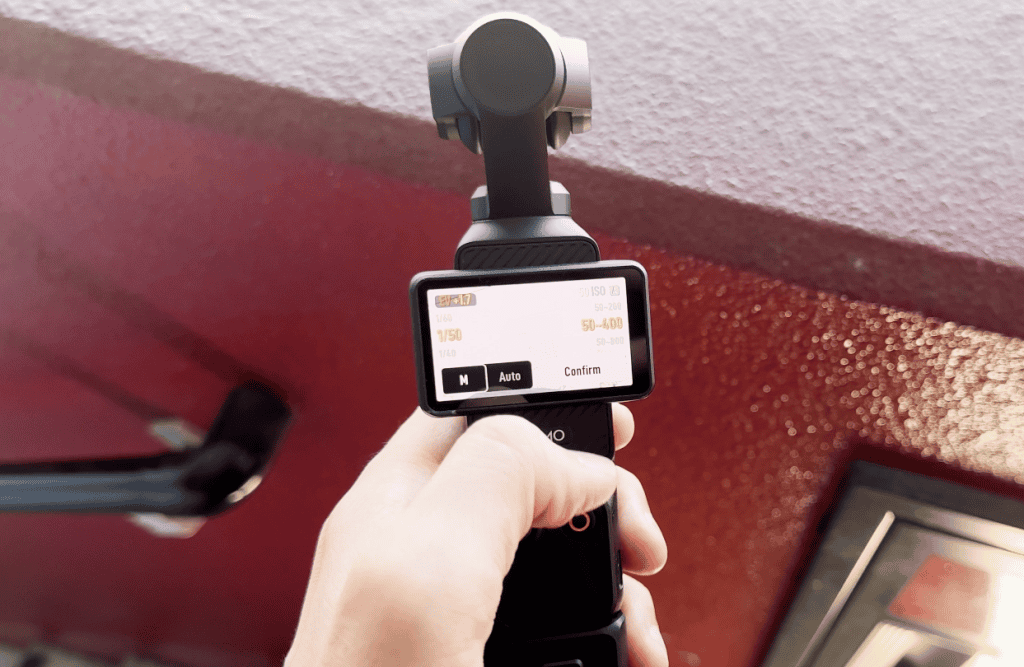
On a cloudy day, the ND16 filter provided the best results, giving neutral exposure at close to base ISO. Shooting at 24 fps with a 1/50th second shutter speed and the ND16 filter yielded balanced exposure and motion blur.
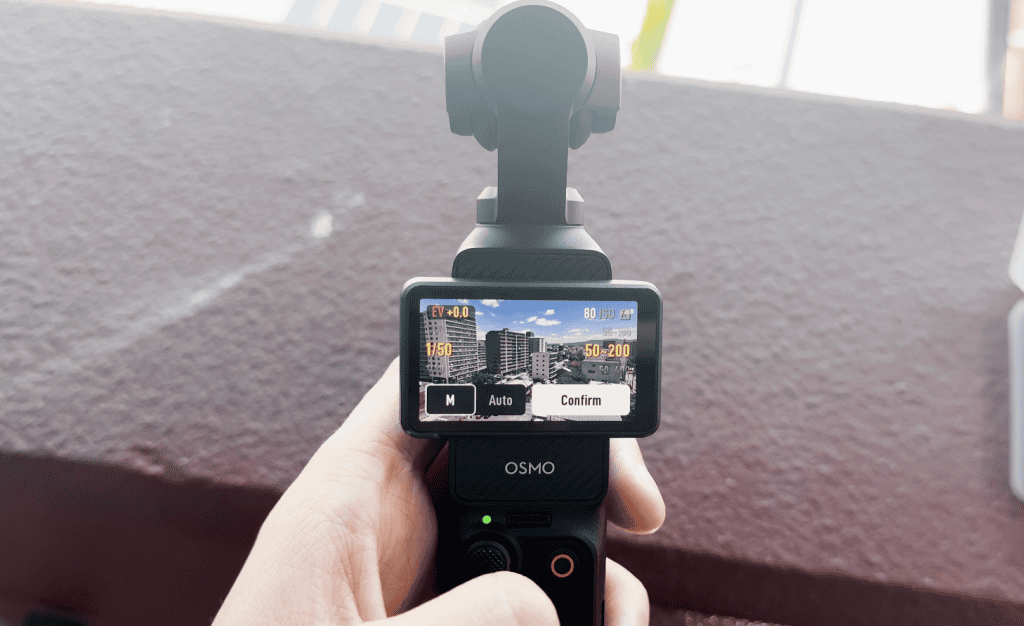
A sunny day – ND64
Carrying multiple ND filters is essential as lighting conditions change. On sunny days, an ND16 filter might not provide the light reduction we need to get the exposure down to a desirable level.
In my testing, the ND16 was not enough, resulting in overexposed footage even at ISO 50. Swapping to the ND64 filter allowed me to expose properly at around ISO 80.
Artistic Choices with Shutter Speed
While the 180-degree shutter rule is a guideline for achieving cinematic motion blur, it’s not a strict rule. Narrower shutter angles (faster shutter speed) can create a staccato effect, conveying tension and anxiety. It’s often used in fight scenes, for example.
Wider angles can add extra motion blur for a softer, dreamy look. A 270-degree shutter angle (1/32s) or 360-degree shutter angle (1/24s), yield lots of motion blur.
ND256 – Is it necessary for the Pocket 3?
The ND256 filter is probably overkill for the Osmo Pocket 3 in most scenarios. Even when pointing the lens directly at the sun at 1/25 shutter speed, the ND64 only slightly overexposed the image. Yes, the ND256 makes sense in this case, but it’s not a common scenario.
However, if we’re taking photos with the Pocket 3 (not very common), or timelapse videos (quite common), the ND256 might be useful in particularly bright conditions. I rarely shoot timelapses with my Pocket 3, but keep that in mind before you dismiss it as being completely unnecessary.
Do I need ND filters for 30fps and 60fps video?
The 180-degree shutter rule can be applied regardless of frame rate. So while 30fps or 60fps may look smooth enough and not visibly choppy without ND filters, you still won’t get true cinematic motion blur unless you’re manually setting your shutter speed.
Now at these higher frame rates, the corresponding shutter speeds according to the 180-degree shutter rule are faster, so you don’t need as much light reduction as you would when shooting at 24p. However, I can guarantee that you’ll still need ND filters in bright conditions.
Just note that you might need to use lower-rated ND filters compared to what you’d use at 24p. For example, an ND 16 might be optimal when shooting at 60p 1/120s when an ND64 would be optimal for 24p 1/50s.
ISO Range
While I’ve discussed the Osmo Pocket 3’s fixed aperture and the fact we want to fix the shutter speed according to the 180-degree shutter rule, there is another way to adjust exposure. That’s through ISO, which is the third component to the ‘exposure triangle’.
Generally, ISO is increased from the camera’s native ISO (50 in the case of the Osmo Pocket 3) to increase exposure when there’s not enough light in the scene.
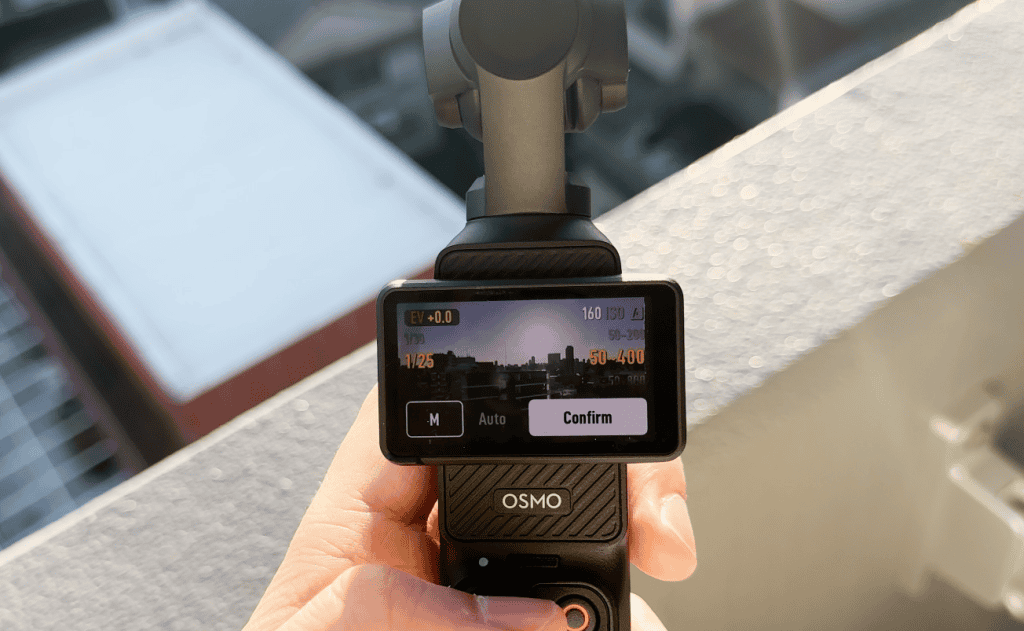
The Pocket 3 let’s you use Auto ISO with an ISO range, which means that if you are moving the camera round and the scene is suddenly darker, the ISO increases on the fly to compensate. However, since increasing ISO impacts image quality and can introduce noise, we want to be careful about shooting at high ISOs.
I personally set my ISO range to 50-800. This means the ISO won’t go higher than 800. However, I’ve seen plenty of people use ranges of 50-400 and 50-3200, so it really depends. Allowing it to go as high as 6400 is probably not a good idea, though.