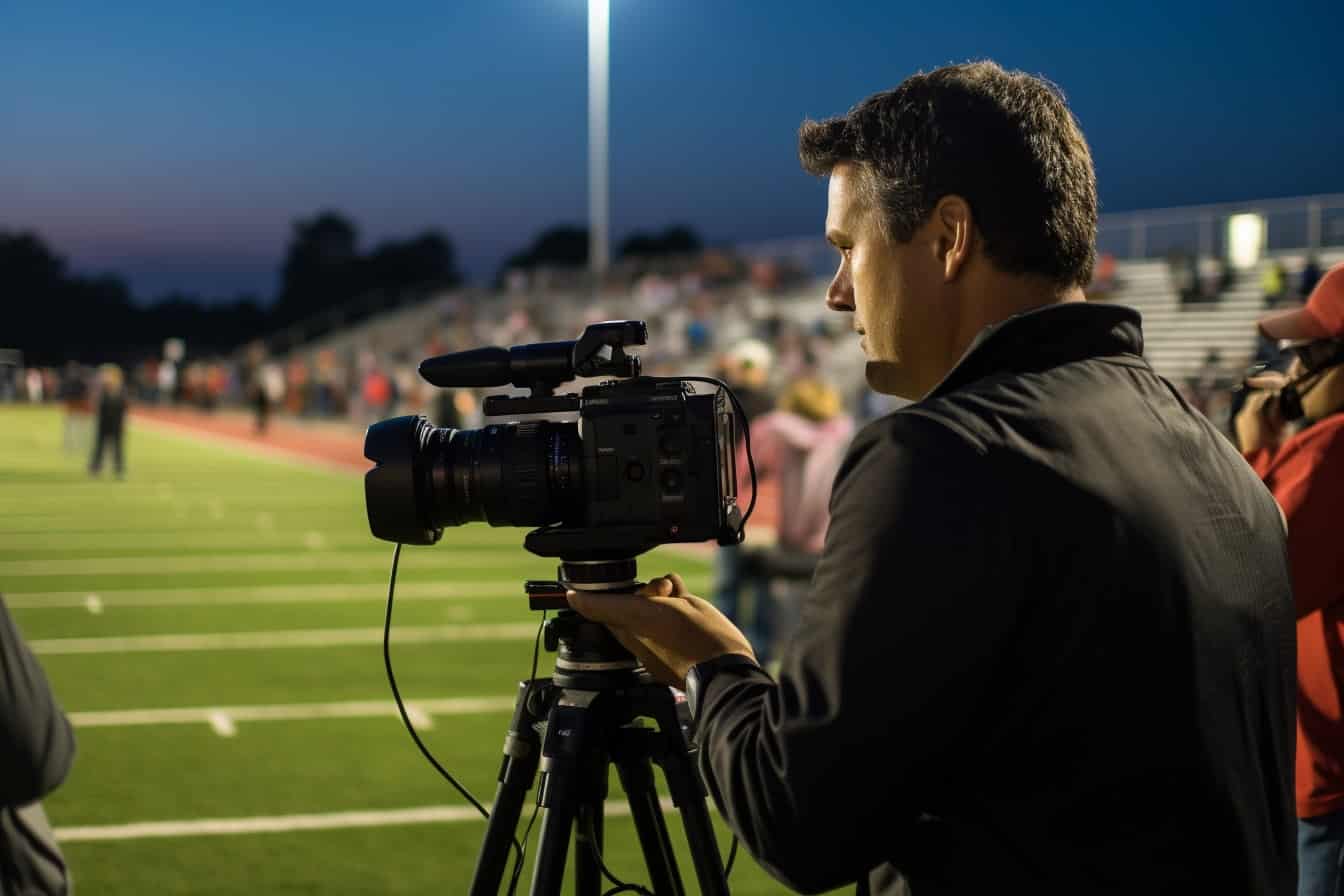
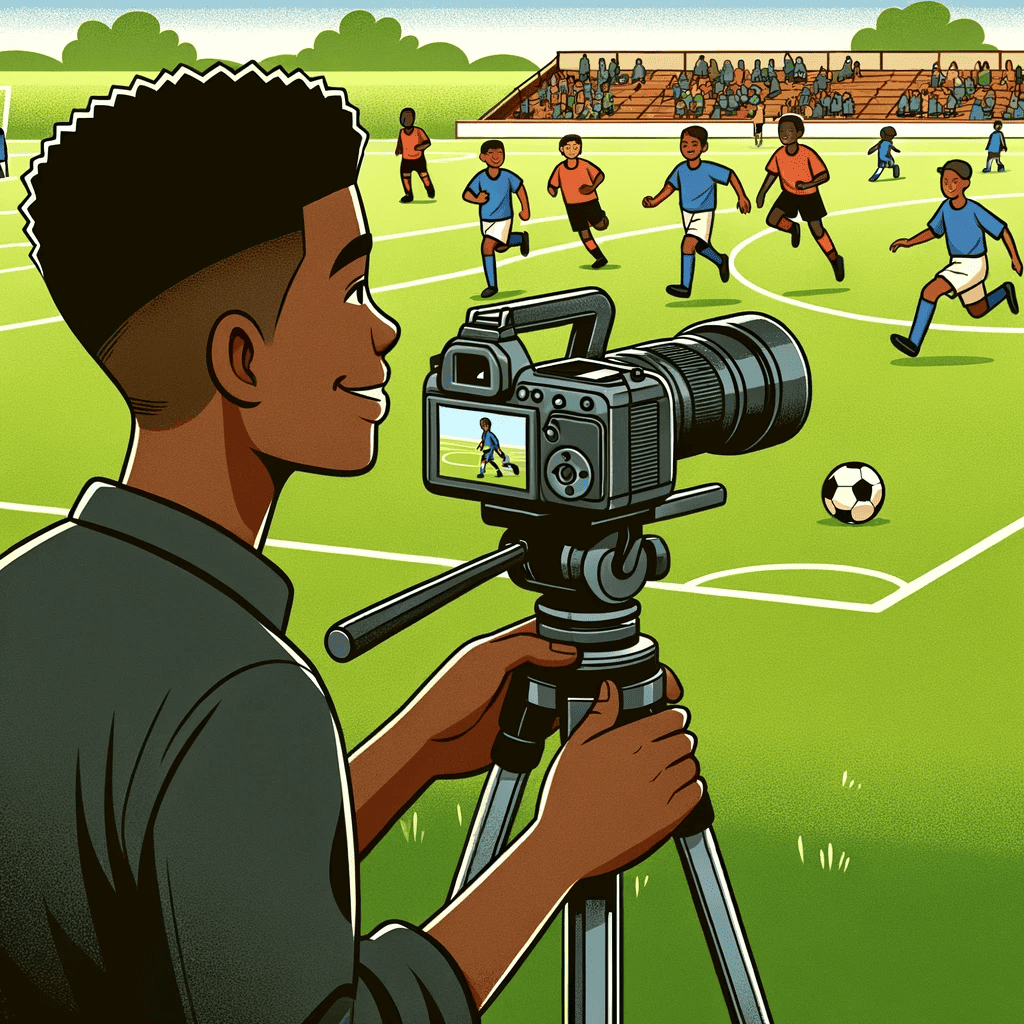
Due to the fast-pacing and unpredictable nature of sports, filming sports is one of the toughest areas within videography.
And to make things even harder, you only get one shot, and you have to constantly be on your toes because you have no idea where or when the next juicy bit of action will happen.
As both a sports fan and videographer, I’ve had chances to film sports on many occasions. And in this article, I’m going to share my advice that I think would benefit a lot of people just getting started.
Quick disclaimer: I’m not involved in professional sports broadcasting so you won’t hear me talk about professional recording equipment or industry standard practices. This is a completely different ballgame and not something that one can simply learn off the internet.
Instead, I’ll be trying to give practical advice for:
- Parents who want to film their kids at youth or high school games
- Coaches who want to film their students for video analysis and feedback
- Content creators who want to create cinematic sporting footage for uploading to social media
Table of Contents
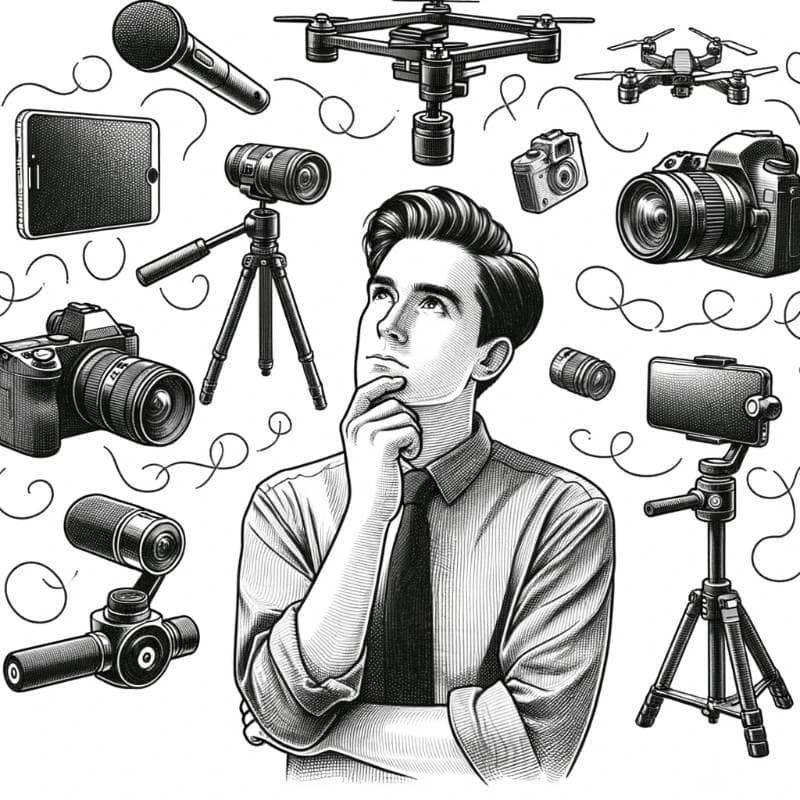
Equipment and Gear: The Camera
There’s no one-size-fits-all when it comes to the camera. The recording equipment will heavily depend on the purpose of your recording.
Let’s go over some of the main types of sports filming and look at what camera is most suitable for each.
Situation 1: Coach recording players for video analysis
This is perhaps the easiest, because the video simply needs to be able to capture the player’s movement clearly. The quality of the video is secondary and not of much importance.
In this case, you’ll want a camera that can zoom in enough to see the player in detail, and have decent autofocus to ensure the player is in focus as they move around the frame.
Almost anything can work here, from your phone’s camera to a GoPro to a high-end mirrorless camera.
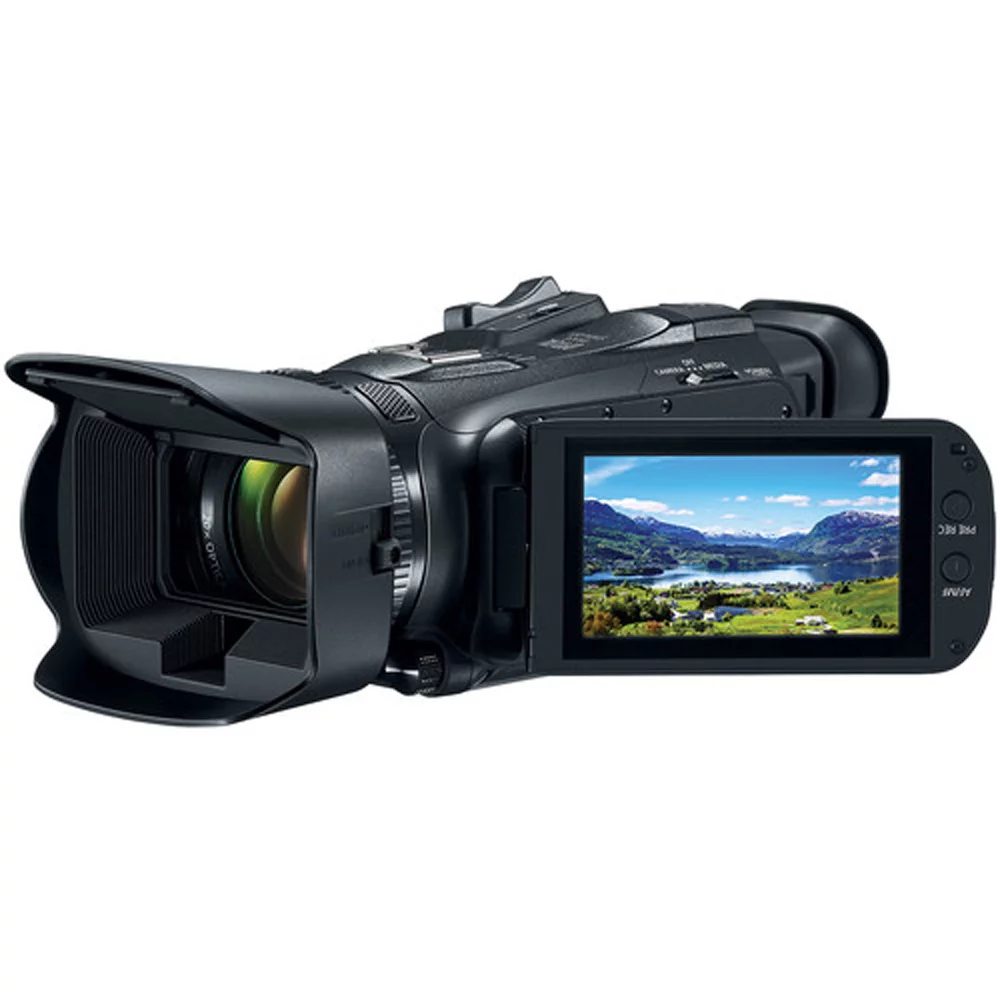
However, a prosumer camcorder would be my recommendation since it is so easy to use, is comfortable to record with, and offers the best zoom capabilities for the price.
Situation 2: Recording school games for family videos
If you’re looking to document and record actual matches on game days to remember, you’ll want to make sure your videos are higher quality. A few options to consider would be are:
- A high-end phone camera like the iPhone 15 Pro Max or Samsung Galaxy S23 with telephoto zooms.
- A prosumer camcorder
- A pocket camera like the DJI Pocket 3
- A mirrorless camera
All these cameras would be capable of producing impressive videos, though each has its own pros and cons.
Situation 3: Recording cinematic sports footage
If you’re a content creator wanting to create high-quality, cinematic footage, you’ll need to be prepared to invest in more expensive camera equipment.
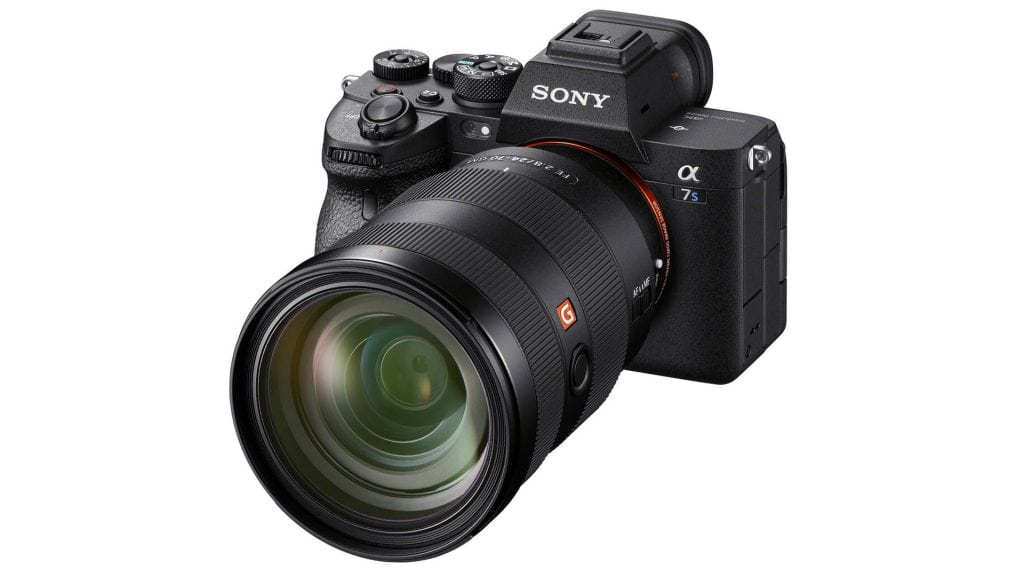
The go-to for most people doing this kind of serious work will be an interchangeable-lens mirrorless camera. That’s because they are capable of producing high resolution video and recording at high frame rates. In general, you’ll want to avoid DSLRs, as they lack various features needed for video.
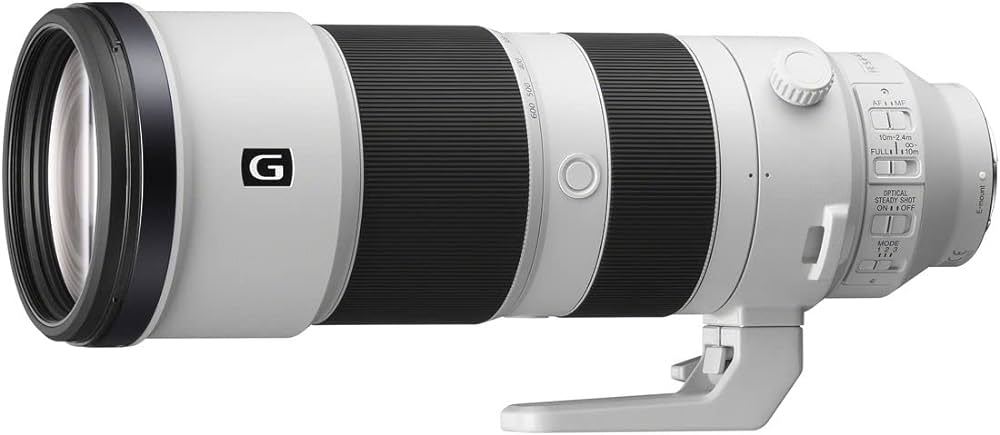
Lenses are in many ways more important than the camera body itself, as different types of lenses will be used in different situations:
- Telephoto and supertelephoto zooms (e.g. 70-200mm or 100-400mm) bring you close to the action. They’re ideal for focal lengths like tightly framed player close-ups.
- Wide-angle zooms (e.g. 14-35mm) are crucial for establishing broader shots of the stadium, field, or court.
- Prime lenses around 50mm or 85mm have wide apertures for artistic bokeh blur effects. Great for pre-game shots.
- Macro lenses for details like close-ups of the text on the ball. Not at all necessary but fun for experimental shots.
In practice, a telephoto lens and wide-angle zoom are what you’ll want to aim for to begin with. Other types of lenses are very much optional and not really for recording the action itself.
Equipment and Gear: Other Stuff
Stabilization
While the newest cameras have incredibly smart electronic image stabilization, for serious work you’ll want accessories that make stabilizing and tracking players easier.
A sturdy tripod or monopod ensures steady locked down shots from your main vantage point. For more dynamic handheld shots, consider using camera cage or a gimbal.
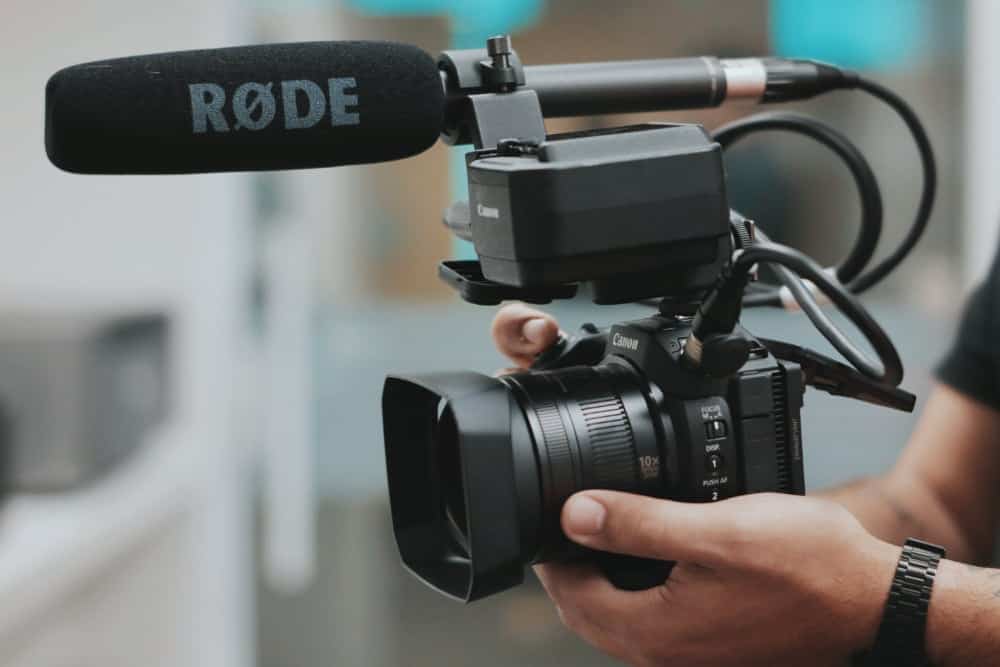
Microphones
Your camera’s built-in mic will be enough to get the job done, but immersive audio can dramatically improve your video. Here are some types of microphones that you should consider:
Shotgun Microphones: These are best used when filming from the sidelines or by the field/court. They have a very narrow area of sensitivity, or polar pattern, which allows them to pick up sound from a specific direction. This makes them ideal for capturing specific sounds from the field without picking up too much crowd noise.
Lavalier Microphones: These small clip-on microphones are often used for on-field interviews or by referees/officials to communicate decisions. They are omnidirectional and pick up sound equally from all directions, making them ideal for voice.
Ambient/Crowd Mics: You can place omnidirectional or cardioid microphones around the venue to capture the ambient sound of the crowd. This will help provide a sense of atmosphere and excitement to your video.
Overall, I’d recommend investing in a good shotgun mic first. The other types of mic are worth considering if they make sense for your purpose.
Lighting
Unfortunately, you’re unlikely to have the freedom to dictate the lighting. If you’re filming outdoors during the day you shouldn’t have any trouble. But if you’re filming night games or indoor sports, you’re likely going to run into lighting issues.
This isn’t something that can be easily solved with equipment, unless you have the luxury of setting up the venue itself.
Instead, you’ll want to do your best to position yourself well and ensure your camera settings are the best they can be for the given lighting conditions.
Other Essentials
Don’t forget other essential gear: Extra batteries, SD cards, and safety gear like a helmet if needed.
Important: Start Recording With What You’ve Got!
All too often I see people immediately get hung up on gear and believe that purchasing the latest gear will magically solve all their problems.
But the reality is that you can produce seriously good videos with basic gear. In fact, at the beginning I’d be focusing on going out and recording with what you’ve got, before even thinking about purchasing new gear.
Once you’ve done that, THEN you can start to think about how different gear would have made a difference. Reflect and ask yourself questions like:
- The footage isn’t close enough to the action. Could I benefit from a camera with a better zoom?
- My subjects are often out of focus. Do I need a camera with better autofocus?
- My handheld footage is shaky! Would a gimbal help, or should I focus on stationary shots with a tripod?
- The image suffers from a lot of noise. Would a camera with a larger sensor be more appropriate?
This way, you can incrementally work towards the perfect gear that fits your unique circumstances.
Where to position yourself
They say 90% of real estate is location, location, location. The same goes for sports videography. Proper positioning is crucial to highlight the most dramatic on-field moments as they happen.
Different sports require tailored positions, but here are some general principles to follow:
Get a Sideline View
Set up your main camera on the sideline just off the field of play if possible. This allows you to capture pivotal bench reactions and interactions between coaches and players. You can also incorporate key moments like substitutions, injuries, confrontations with referees, and more.
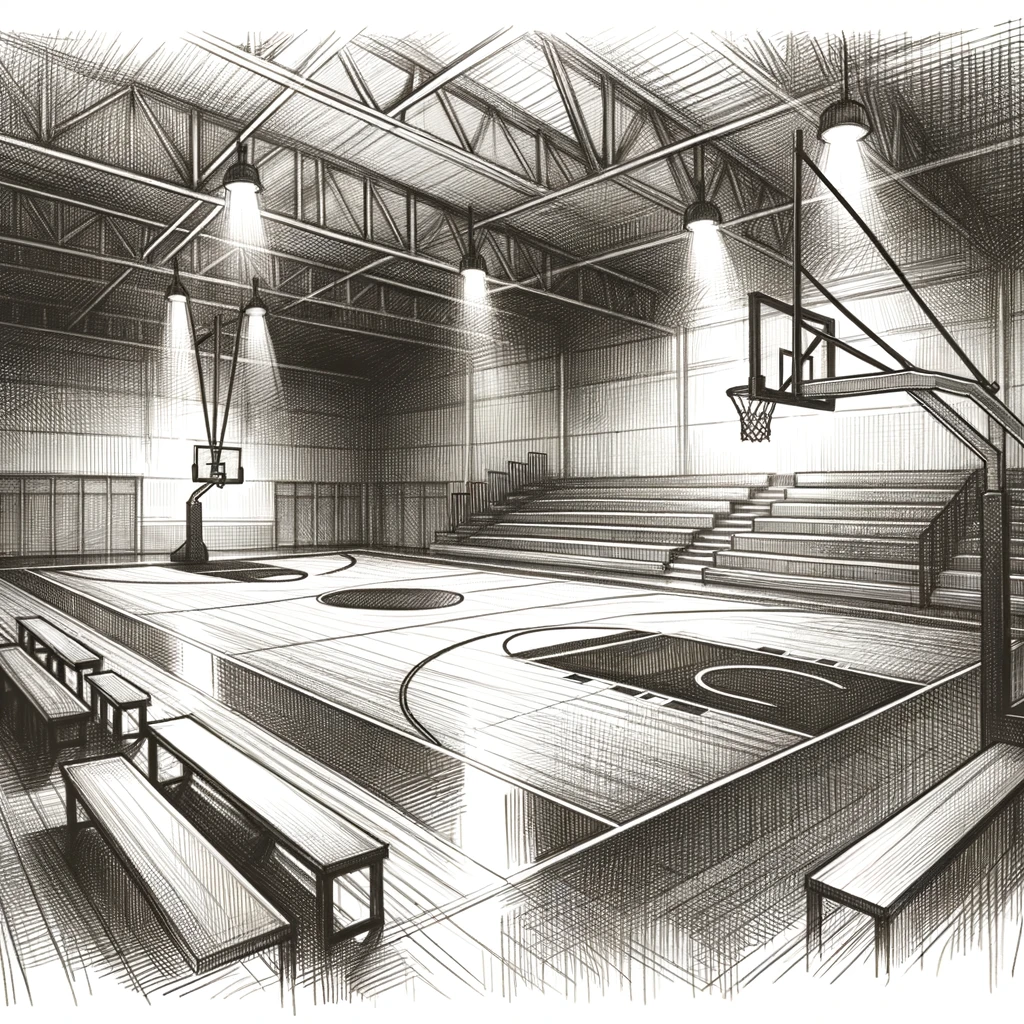
Shoot from Behind Goals and Nets
Get angles from behind hockey nets, soccer goals, basketball hoops. This places you in the middle of the action as players drive towards you. It also sets up shots of plays developing, offensive sets unfolding, and of course great scoring chances.
From the stands
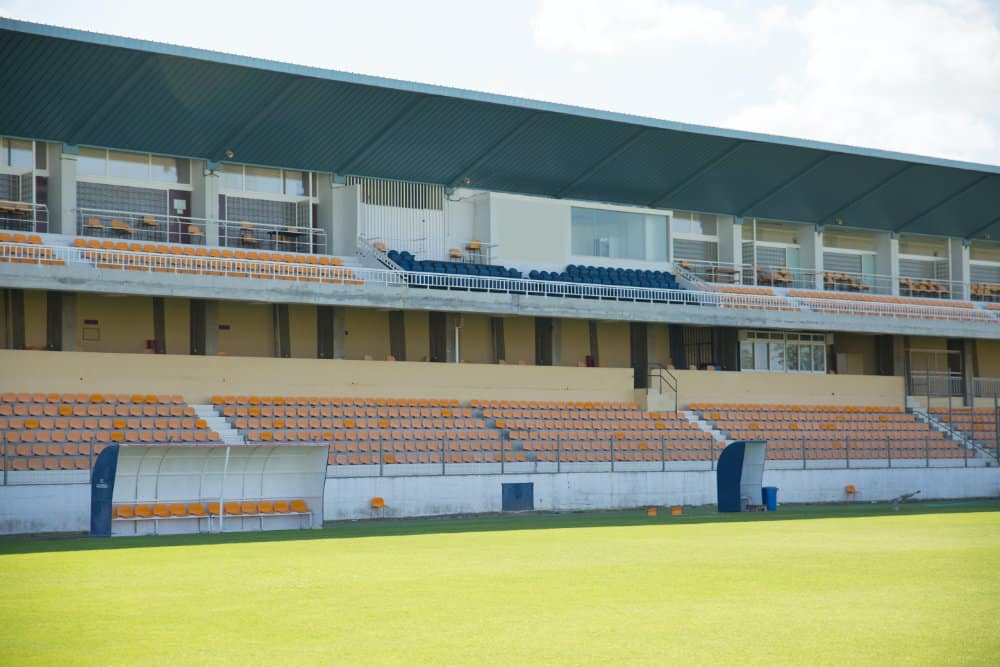
Shooting from up in the bleachers is not ideal because you’re so much further away from the action. You’ll have a hard time tracking the ball when zoomed in and you’ll pick up the crowd both in your frame and audio.
However there are times when this is ideal, namely when you want to capture a spectator POV. It can also give you a higher angle to give more of a bird’s eye view of plays developing and important moments.
Player POV
With wearable action cameras like the Insta360 Go 3 now a thing, it’s possible to record sports footage from the player’s perspective. Here’s some footage of a popular YouTuber who films his POV as a soccer player using the Insta360 Go 3:
Being Creative with Angles
Vary your angles throughout the game to keep it visually interesting:
- Higher angles give a bird’s eye view of plays developing and important moments. Shoot from up in bleachers or the press box. You could even consider a camera drone, just make sure you’re authorized to use one.
- Lower angles immerse viewers right in the action. Shoot from a low tripod or lay on the ground.
- Find unique vantage points like windows overlooking the field or stairwells with gaps.
- For pre-game, get outside-the-stadium shots zooming in through fences or under bleachers. Provides a cinematic, voyeuristic feel.
Playing with angles, especially dynamically moving ones, adds energy and variety to the viewing experience.
Of course, you’ll also want to reposition yourself throughout the game to wherever the most pivotal action takes place:
- In football, start at the line of scrimmage but make sure to get into the endzone in anticipation of touchdowns or big returns.
- In basketball, park under the hoop to get dunks and layups up close.
- In soccer or hockey, be ready to follow offensive pushes and chase down developing counterattacks.
- Assume the kick or punt returner will bring it your way and react accordingly.
Choosing The Right Camera Settings (Advanced)
If you’re just starting out, you should skip this part of the guide and just shoot in the default video mode of your camera.
High quality sports footage relies on your camera settings. Things move incredibly fast, so capturing motion cleanly and precisely matters.
Frame Rate
When recording sports, it’s pretty simple. The higher the frame rate, the better. Aim to film between 60-120fps if your camera allows. This gives you the most flexibility in post production, including the ability to slow down footage during key moments. Coaches will also benefit from this a lot, as smooth slow-motion footage can help discern areas for improvement.
However, you have to keep in mind that a lot of cameras come with a trade-off when shooting at higher frame rates. For example, the video resolution might be limited to 1080p instead of 4K, or there might be a crop factor. Therefore in many cases, you might have to sacrifice a higher frame rate for other reasons.
Shutter Speed
If you can change this setting on your camera, you should start off by applying the 180 degree shutter rule. This exposes each frame correctly and will create the most natural looking motion.
Basically, set your shutter speed to double your frame rate. So at 60fps, use 1/120th sec shutter speed. This provides the right exposure time without too much motion blur.
Aperture
Opt for a lower aperture (around f/2.8-f/4) to create a shallow depth of field. This foregrounds athletes while softening potentially distracting backgrounds.
When filming a high school football game under the lights, I used a wide aperture of f/2.8. This kept the diving receiver in tack sharp focus while fading the sea of fans behind him into a blur.
ISO
Where possible, set your ISO to your camera’s native level, commonly 100 or 200, to reduce noise and graininess. This ensures clearer image quality, especially important in slow motion close-ups. Higher ISO introduces distracting specks and smearing.
LOG Shooting
If your camera offers LOG shooting modes, take advantage! LOG provides greater flexibility color grading during post-production without sacrificing dynamic range.
The first time I captured a sunset football game in LOG mode, I had so much more latitude editing the golden hour colors and shadows in post. The video took on a cinematic movie look I couldn’t achieve otherwise.
Storytelling Techniques: Crafting Compelling Narratives
If you’re producing these sports videos for entertainment, they can’t just be montages of highlights stitched together. The most engaging videos tell a cohesive story; they have a narrative arc. As a videographer, look for ways to build narratives.
Your video storytelling should:
- Immerse viewers in the scene and world right away.
- Introduce characters and stakes early on.
- Feature rising action leading to the climax.
- Milk the peak dramatic moment through multi-angle replays.
- Provide resolution and closure with falling action.
Let’s talk about each of these in more depth.
Establish the Scene
Use opening shots to set the stage, like wide shots of the stadium filling up with fans or teams warming up. This establishes the world for viewers to enter into.
I always record “texture shots” before games like cheering fans, mascots dancing, or pre-game rituals. This builds anticipation and mood.
Introduce the Characters
Early on, use close-ups and slow motion clips to introduce the players at the heart of the story. Show their game faces, interactions with coaches, or moments preparing. This invests viewers in the characters.
My favorite player intro shots are intense slow motion clips of athletes staring down the camera in the tunnel before running onto the field. The voiceover builds them up as unstoppable juggernauts itching for competition.
Build Story Arcs
Shape the overall story using rising action, peaks, and falling action:
- Show early scoring drives and big plays to build momentum.
- Spotlight back-and-forth lead changes to create drama and uncertainty.
- Feature emotional celebrations after clutching go-ahead buzzer beaters that electrify the crowd.
- Include moments of adversity like injuries or deficits that test a team’s resolve.
These storytelling devices work in any sport. They turn disjointed events into a cohesive, engaging narrative.
Highlight the Climax
Build everything towards the game’s climax, the moment that defines the narrative. Show it from multiple angles and highlight the accompanying celebrations.
For a football video I edited, everything led up to a quarterback’s called QB sneak for the winning touchdown in overtime. I replayed it from the endzone angle, sideline angle, and super slow motion to milk the moment. Cutting between the frenzied players and roaring fans extended it even further for maximum effect.
Wrap Up the Story
Even when the final whistle is blown, your job isn’t over. Show exhausted players embracing and congratulating one another after a hard-fought match. Capture them interacting with the opposition respectfully.
I once filmed two high school soccer players battling and chirping all game, then nodding approvingly during the post-game handshake lines. It resolved the arc nicely.
Adapting in Real-Time: Reacting to the Unpredictable Moments
Unlike highly produced films, you can’t choreograph live sports action. The games unfold spontaneously, meaning you must adapt on the fly.
Preparation through scouting helps, but you will still need to react and reposition yourself as the game evolves.
Here are some of my keys to staying nimble:
Study Teams and Players Beforehand
Learn about a team’s key players, offensive and defensive strategies, and any dramatic team/individual narratives. This allows you to better anticipate certain moments and get in better position ahead of time.
Follow the Action Flow
Pay close attention to the game’s ebbs and flows. Be ready to chase down fastbreaks or track offensive attacks. Follow wherever the action is heating up to highlight it.
As an example, I once noticed a point guard pushing pace more in the second half of a basketball game. So I stayed on that end of the court in anticipation of his coast-to-coast takes to the rim which kept coming.
Park in High Probability Spots
Position yourself where plays are likely to culminate based on scouting. In football, get to the endzone quickly when teams approach scoring position. In soccer, be ready to pivot when the ball switches sides unexpectedly.
At a football game, the team’s star wide receiver was constantly targeted for deep bombs. So whenever they crossed midfield, I immediately moved to the endzone to capture his next long touchdown.
Let the Action Come To You
Once set up properly, let the play come to you. React to the game, but don’t overexert chasing every single play. Wait for key moments to unfold in your direction.
During kick returns in football, I simply focus on the returner and let them run towards me, instead of sprinting downfield after them. This conserves energy and gets great shots.
Stick With It After Missed Shots
Inevitably you’ll miss some live action, like a buzzer beater or quick transition basket. Resist the urge to look at what you missed. Just stick with it and capture the ensuing reaction and celebration even if the initial moment is gone.
I missed a game-winning touchdown bomb because I was zoomed too far in on the QB. But I stuck with it to get amazing replays of the receiver’s celebration with the roaring crowd going nuts in the background.
Collaborate With Other Videographers
This is really, really important. Get to know other videographers working the same game so you can share key moments and perspectives. They may catch a shot you miss or vice versa.
Of course, you might be the only one recording seriously depending on the game, but you can always ask others for help before the game.
Post-Production
This is another subject entirely and not the subject of this guide, but just note that the raw footage you take can be completely transformed in post.
Even if you review the footage you took for the day and feel a bit bummed out (it’s happened to me countless times), with the right cuts and edits you can come out with something truly spectacular.
Wrapping Up
I hope this primer has provided you with just enough background and confidence to go out there and improve the sports videos you take. While reading up on the subject can certainly help, nothing beats actually going out there and recording on the field.
Feel free to leave a comment below if you have any other sports filming questions!